Layer masking is available as blend modes in Sketchbook Pro 9 on desktop, and Sketchbook 6 on mobile with the Premium Bundle.
Masks provide a flexible method for layering details, coloring, or shading. By using layers as masks, you can dynamically modify your masks and see the results interactively as well as reuse layers (by duplicating or copy/paste) to repeat results with consistency.
Masking blends work the same way as other blend modes - their effect applies to all the layers below; they can be used in layer groups to help define/control which layers are affected; and they can be applied to a group allowing you build up a mask using different layers as components.
Types of Blend Modes
There are two masking blend modes.
Alpha Mask will mask out the transparent areas of a layer. Areas that have painted pixels will define the visible region of the layers below.
Inverse Alpha Mask reverses the effect to mask out the painted areas. The transparent portions of the layer define what remains visible.
Mask blends only use the alpha channel (transparency). Any color on the the mask layer will not affect the masking, only where there are opaque or semi-transparent pixels.
Results when using Alpha Mask vs. Inverse Alpha Mask
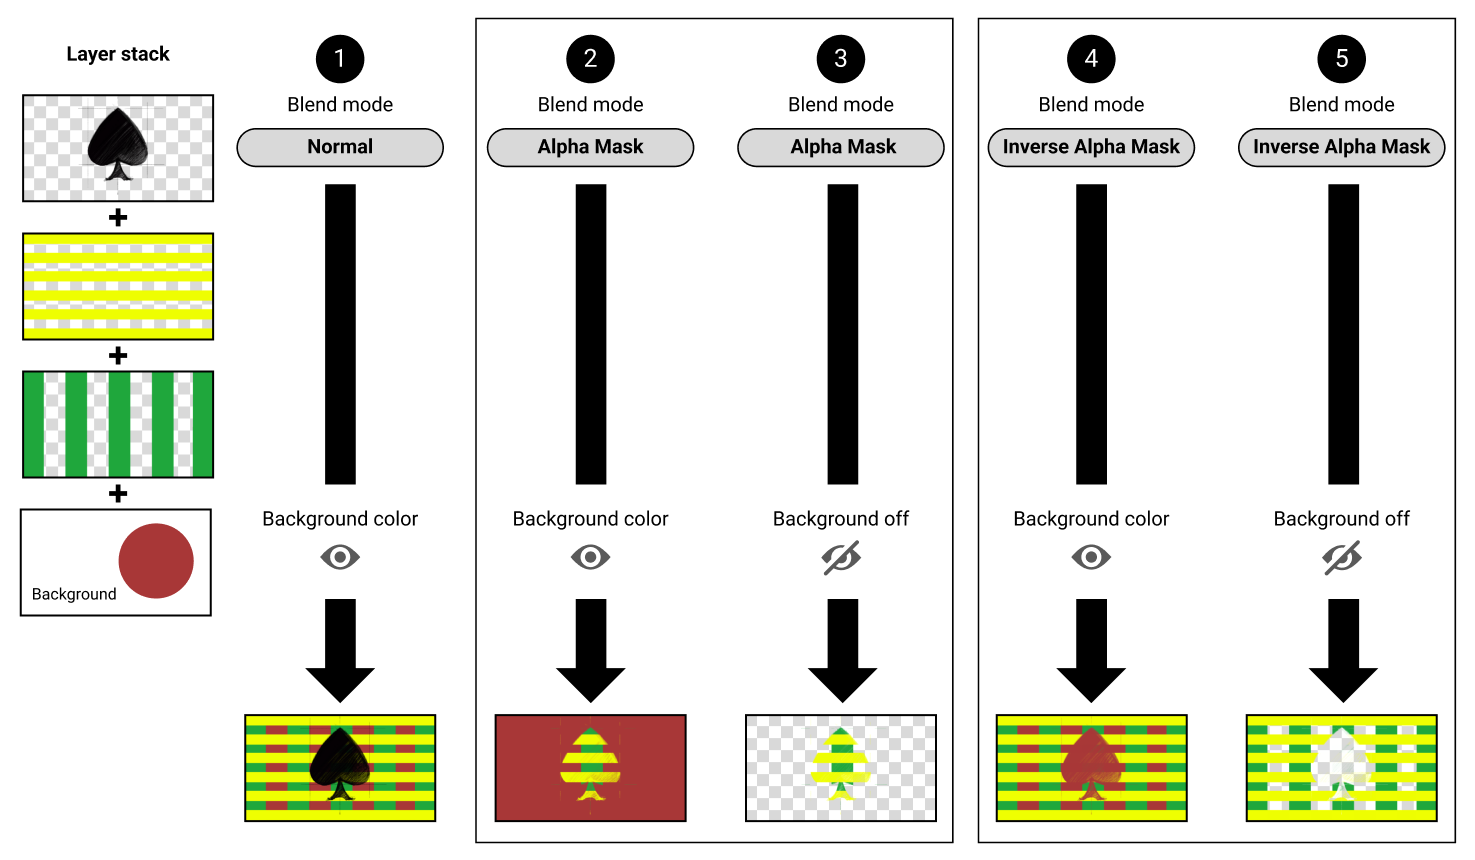
This illustrates the different effects of each blend mode when used without Groups.
The background layer is unaffected by mask blends, so if you want to export a transparent PNG simply turn off the visibility of the background layer
Normal blend mode
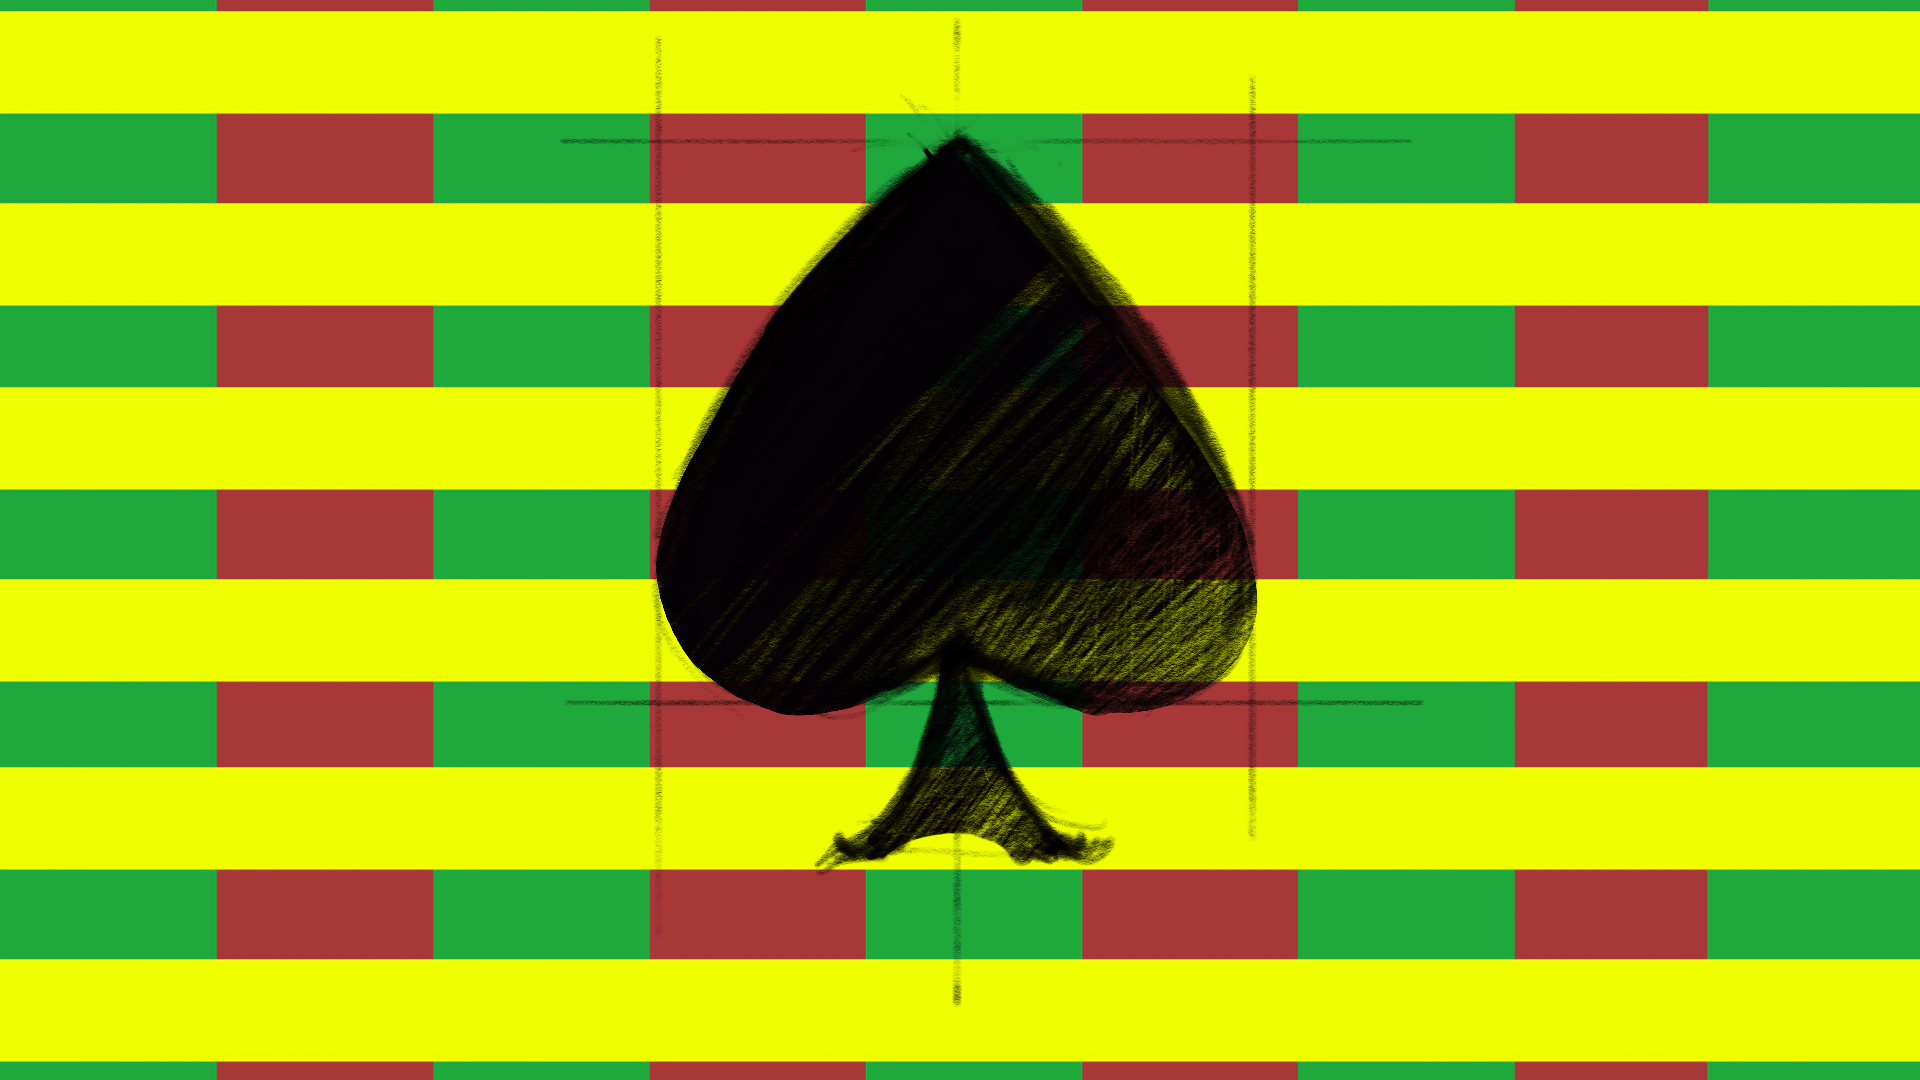
When the spade sketch and other layers all use Normal blend mode, the final composite allows you to see through all the transparent and semi-transparent portions of the layers, down to the background color.
Alpha Mask
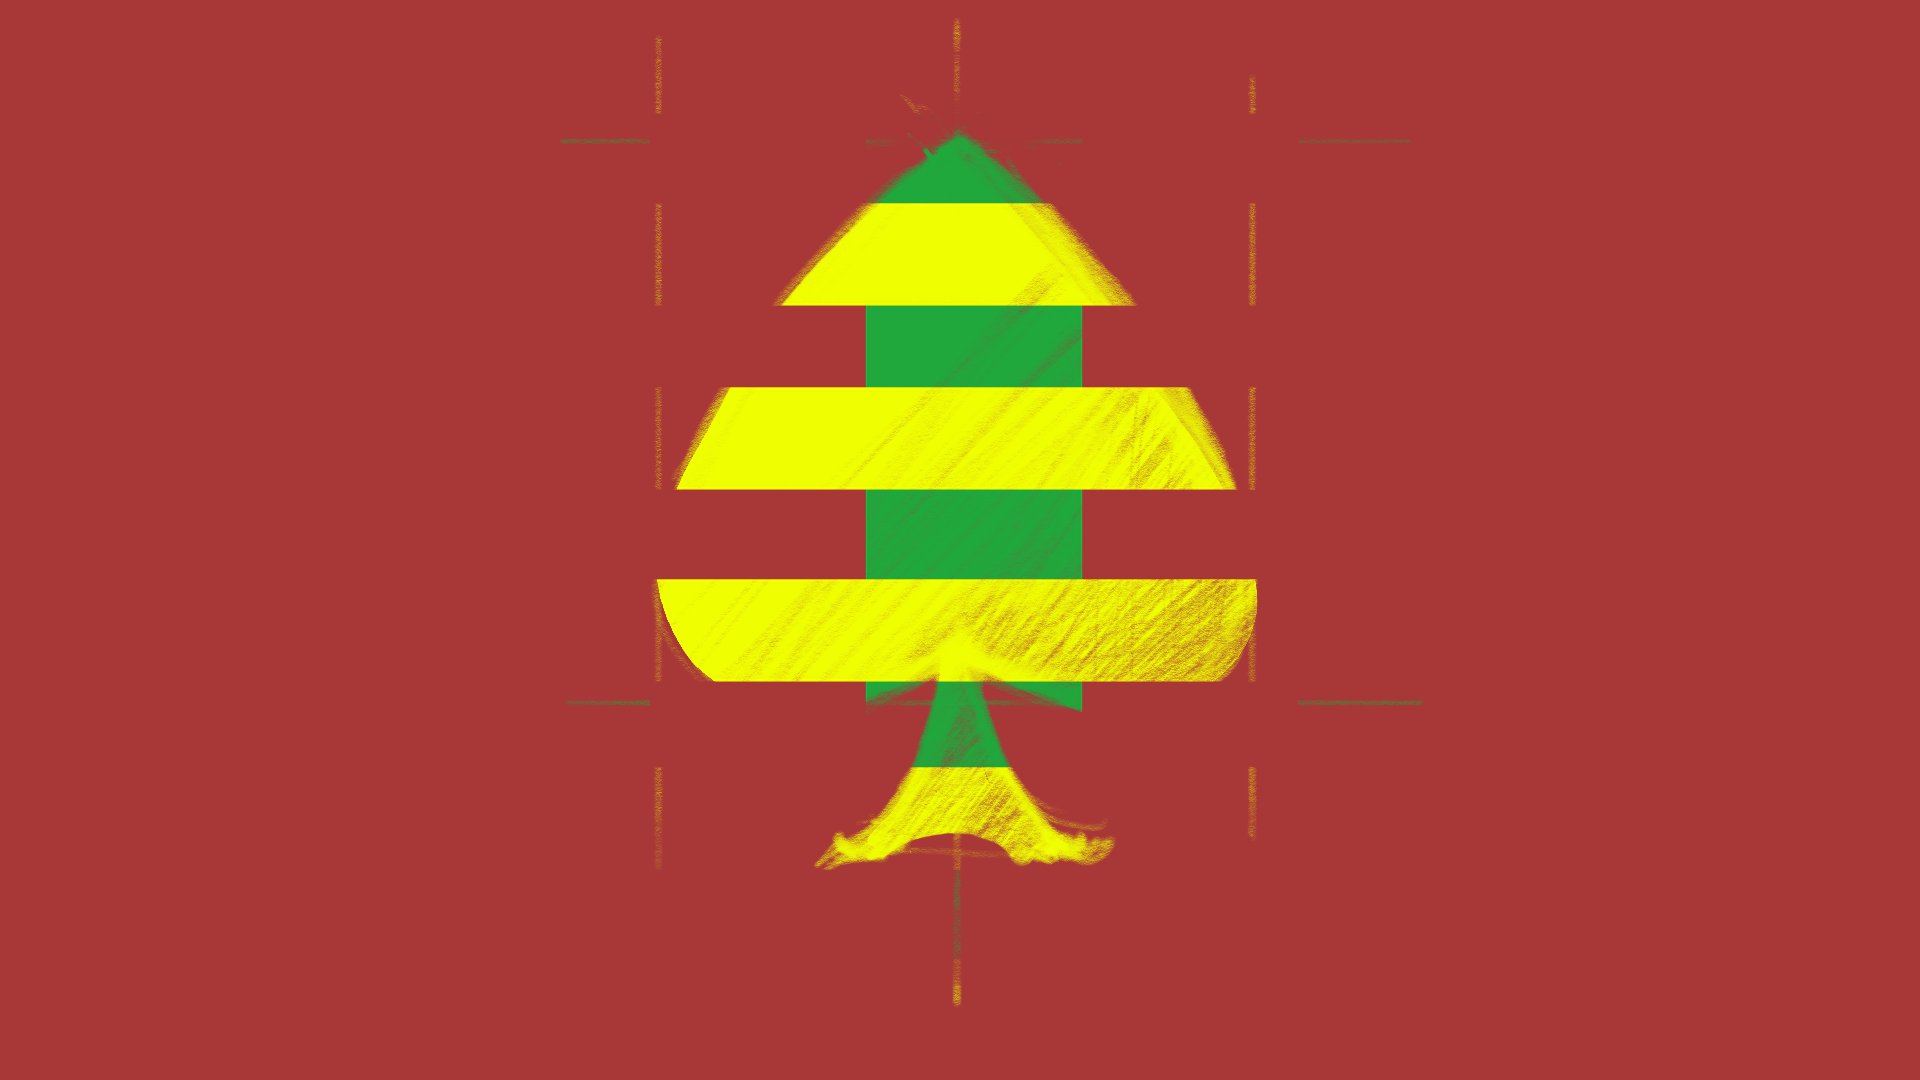
When Alpha Mask is applied to the spade sketch, the transparent areas mask the layers below leaving only opaque and semi-transparent areas visible.
When a background color is visible, it is not masked and shows in the final output.
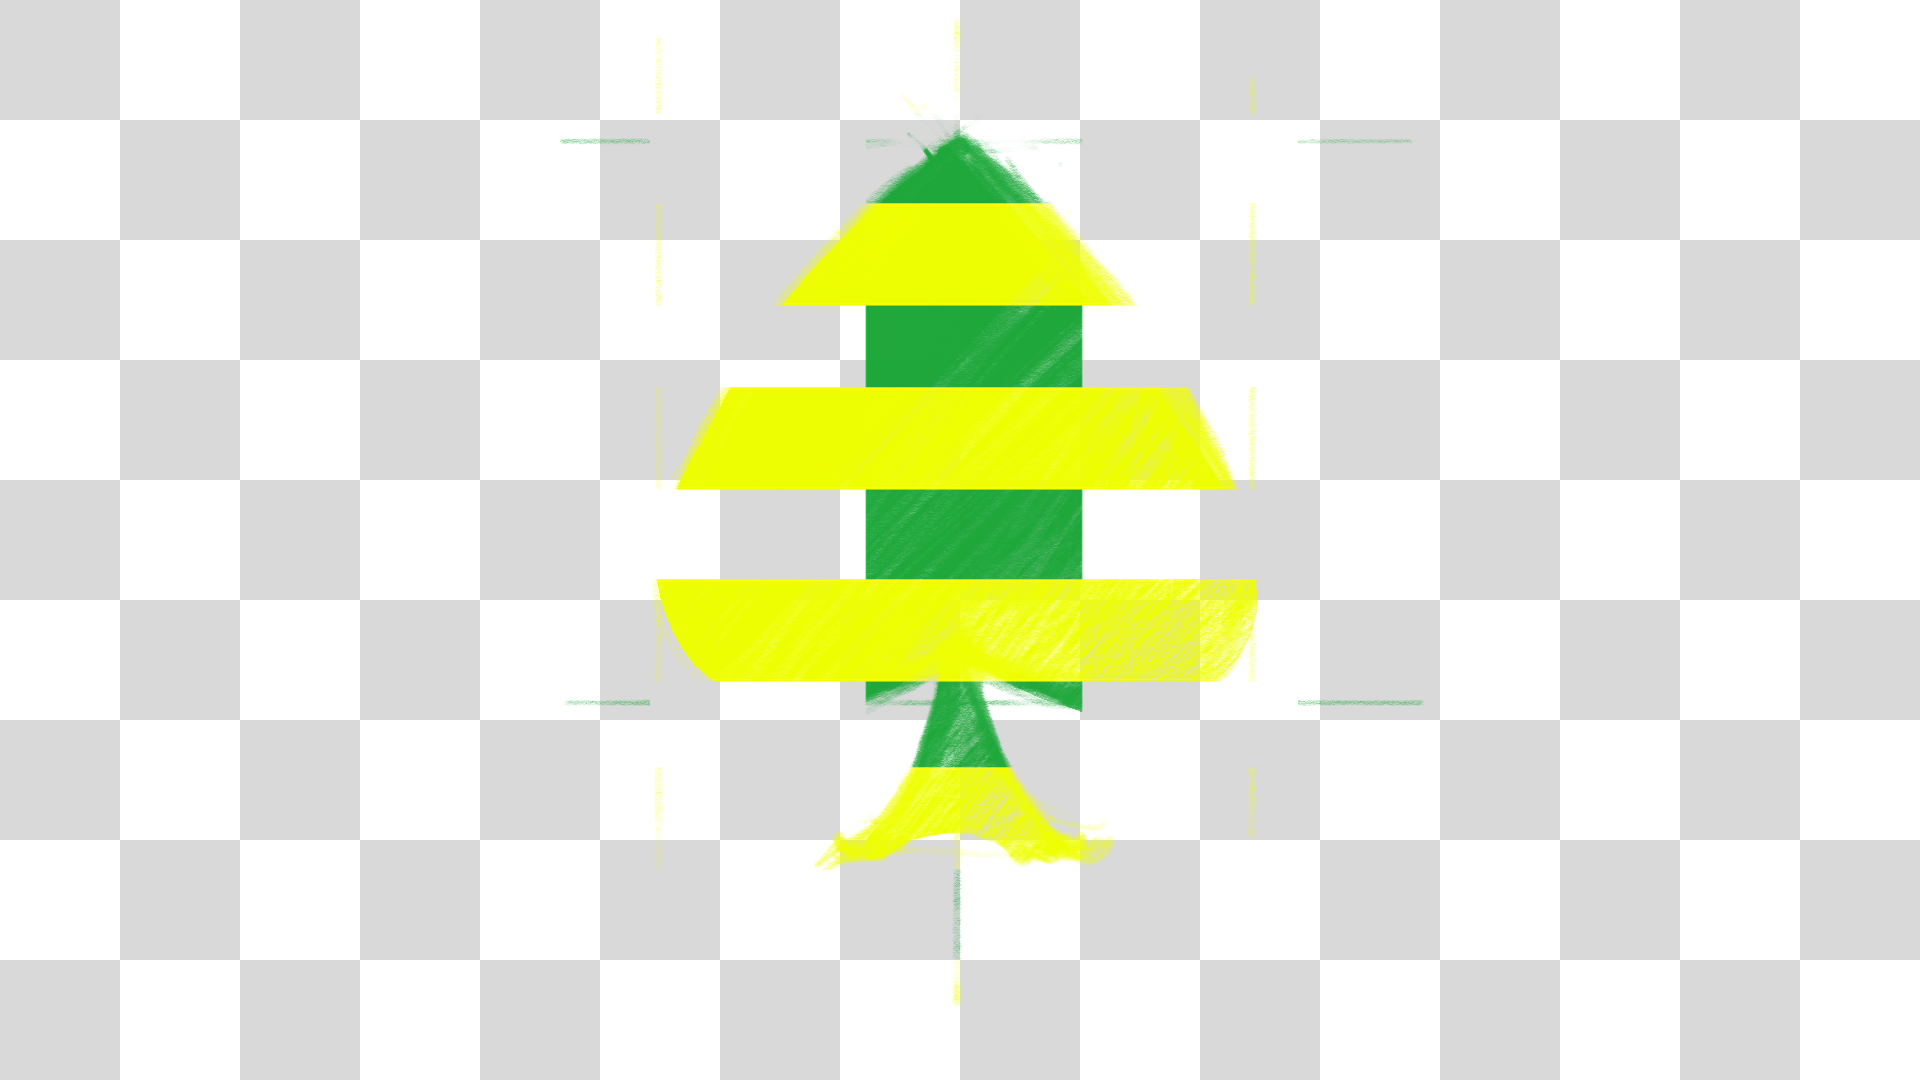
Turning the background off will allow you to export out transparent PNG or TIF.
Inverse Alpha Mask
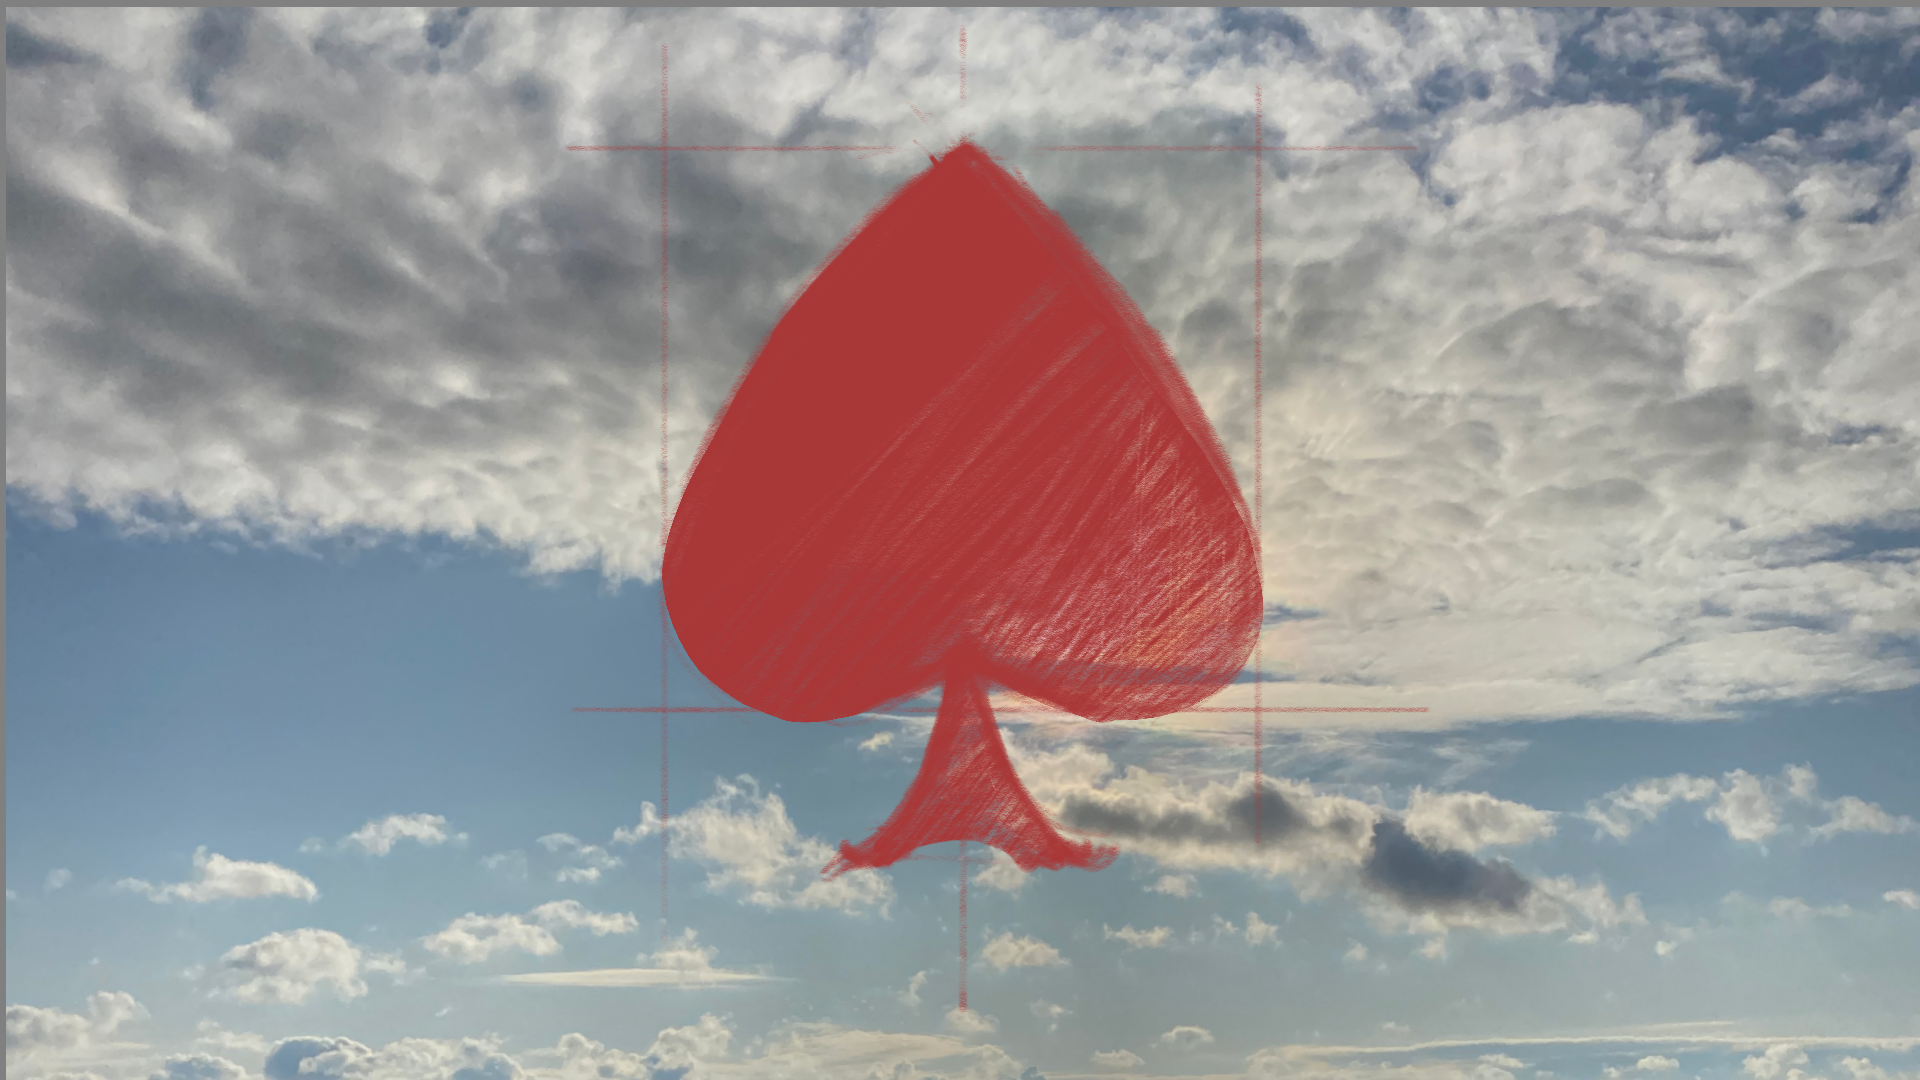
This mode makes the painted areas mask the sky layer to see through to the background color.
And this is the result with the background turned off:
.png)
Masking and Layer Groups
When creating more than one mask layer in the Layer Editor, it is important to remember that the top most mask layer will also mask those below it. To create multiple mask regions on a canvas, use grouping techniques to get different combinations of masking.
Using Groups to isolate mask effects
Using groups, you can define if a mask layer affects all layers below or just the layers below it in a group. By default, new groups are created with the ‘pass-through’ setting. As the name suggests, any blend mode in the group be passed along in the same manner as if the layers were not grouped.
By selecting the group and changing the blend mode ‘Normal’, any layer with a blend mode will only affect layers in the same group.
Using this technique, you can control exactly which layers inherit the masks while layers below that group remain untouched and visible.
Building up a mask with separate component layers using Groups
Groups can also be used to composite multiple layers to define a mask. It can be easier to create complex masks in parts rather than getting it right in a single layer.
To do this, just make a group and create layers with the ‘Normal’ blend mode applied. Then, select the group and change its blend mode to either Alpha Mask or Inverse Alpha Mask. Now all those layers behave as a single mask.
Tip: Give meaningful names to your groups so you can easily identify them, particularly when you have multiple groups or sub-groups in your layer stack.
Working with other painting and image editing apps
Sketchbook’s mask blend modes are not compatible with other applications, so here are a few tips if you are planning to transfer your layers to another application:
When exporting in PSD format, blend modes not supported by the PSD format will be saved as ‘Normal’. You can apply new masking techniques once you've opened the PSD in the destination app.
Using the grouping technique with ‘Normal’ blend mode will give you the option of ‘baking’ your masks before exporting. When you use Merge Layers to flatten a group, this will maintain the blend mode effects on the resulting merged layer. It is a good idea to save a copy of your file or duplicate the group before you merge the layers.