Jump to Mobile
Create complex multi-layered textures. Choose from an assortment of modes. Apply them and experiment without the fear of permanently altering your composition. When layers are combined, the results can vary. Change the order and experiment with the settings to achieve the result you want.
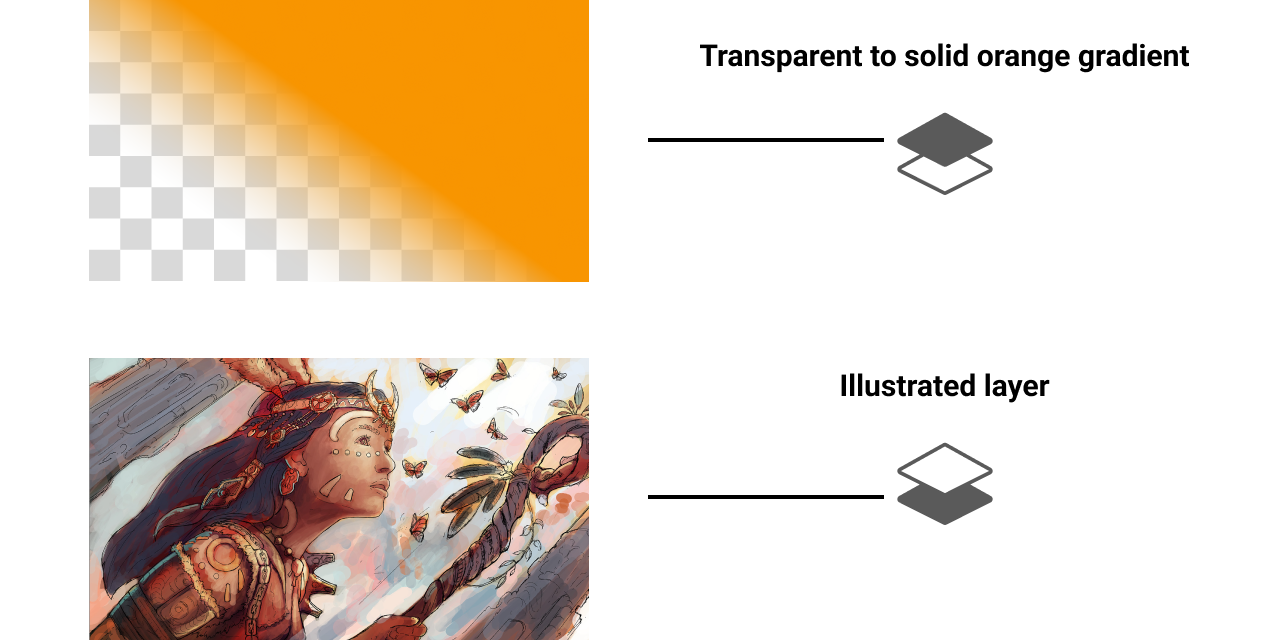
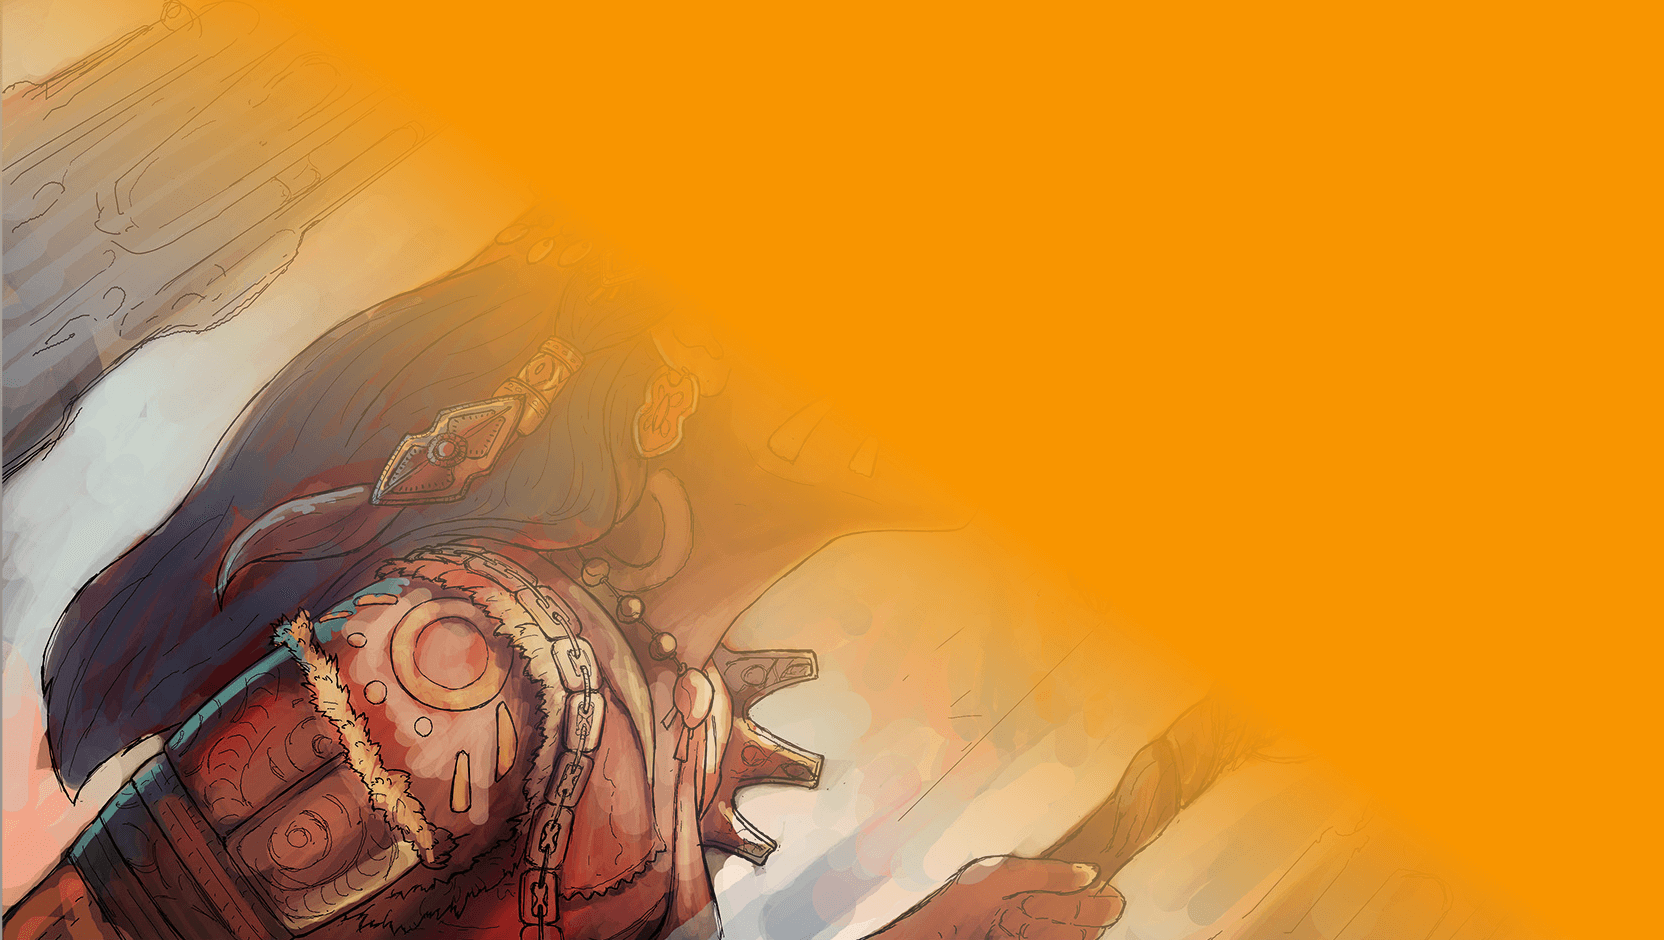
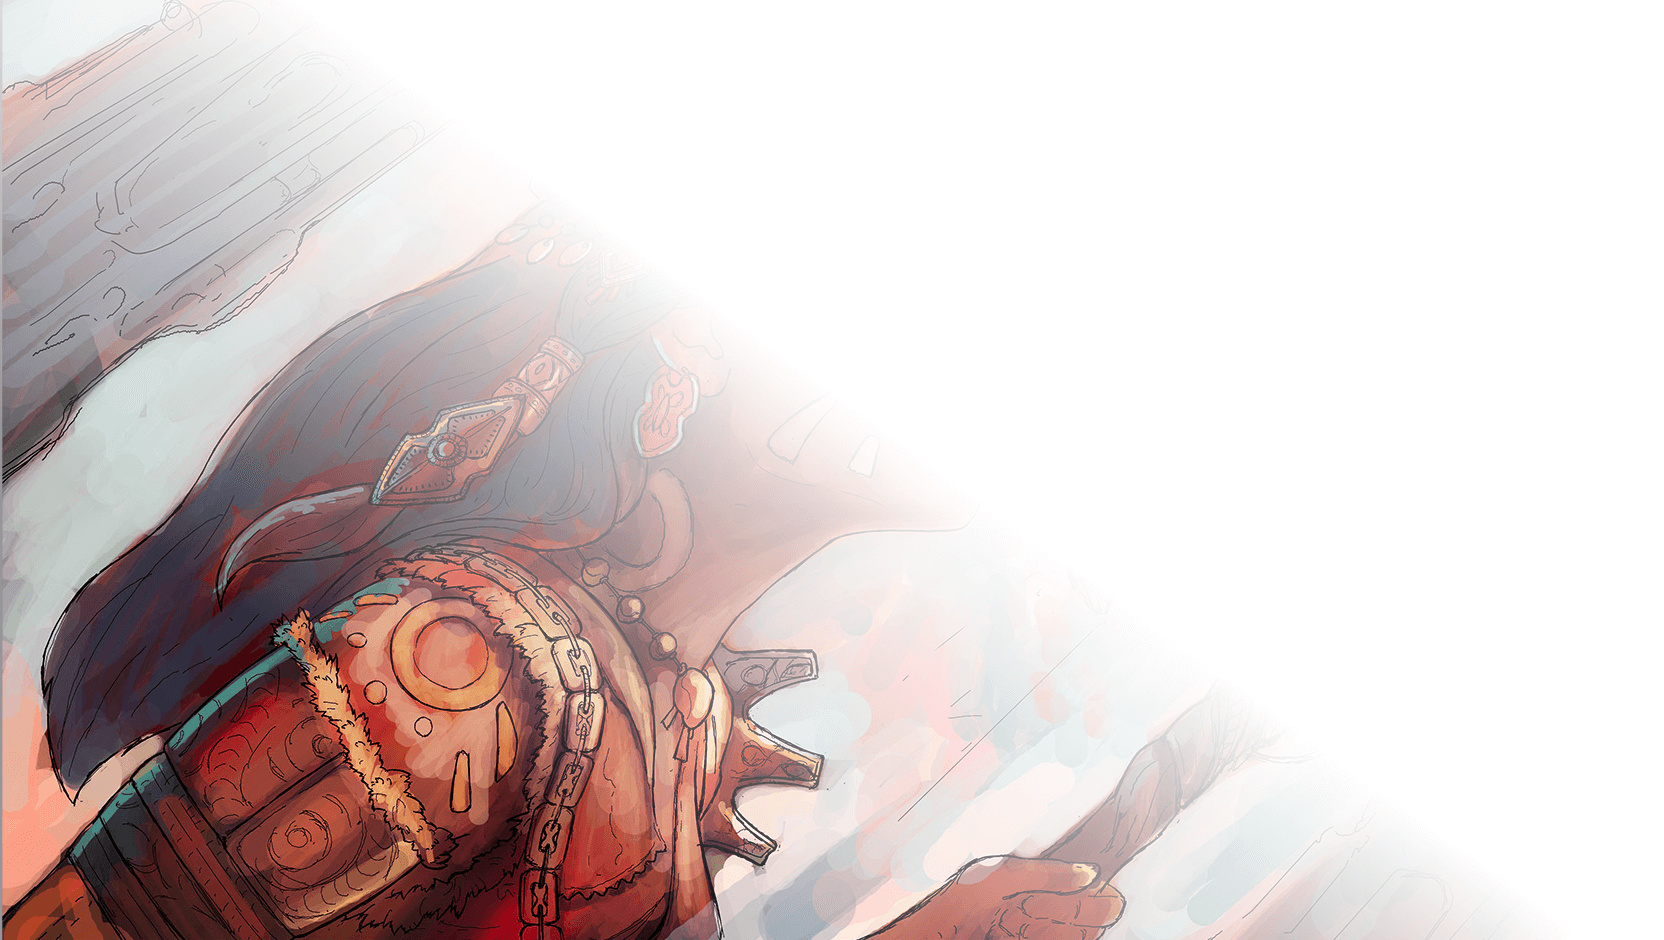
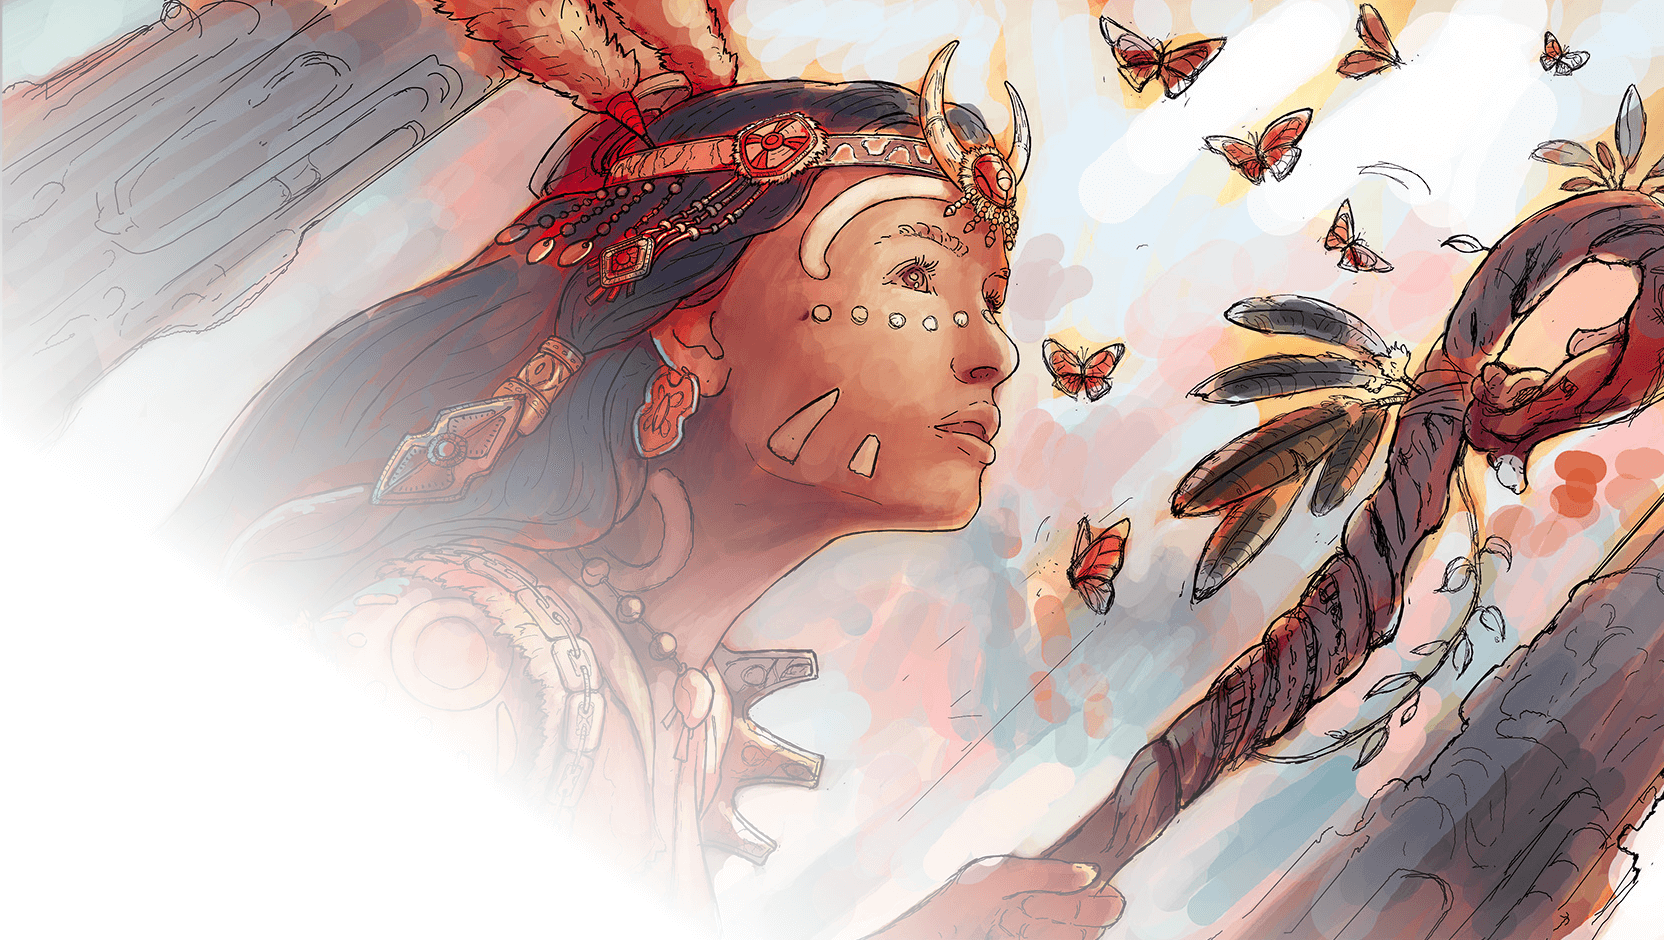
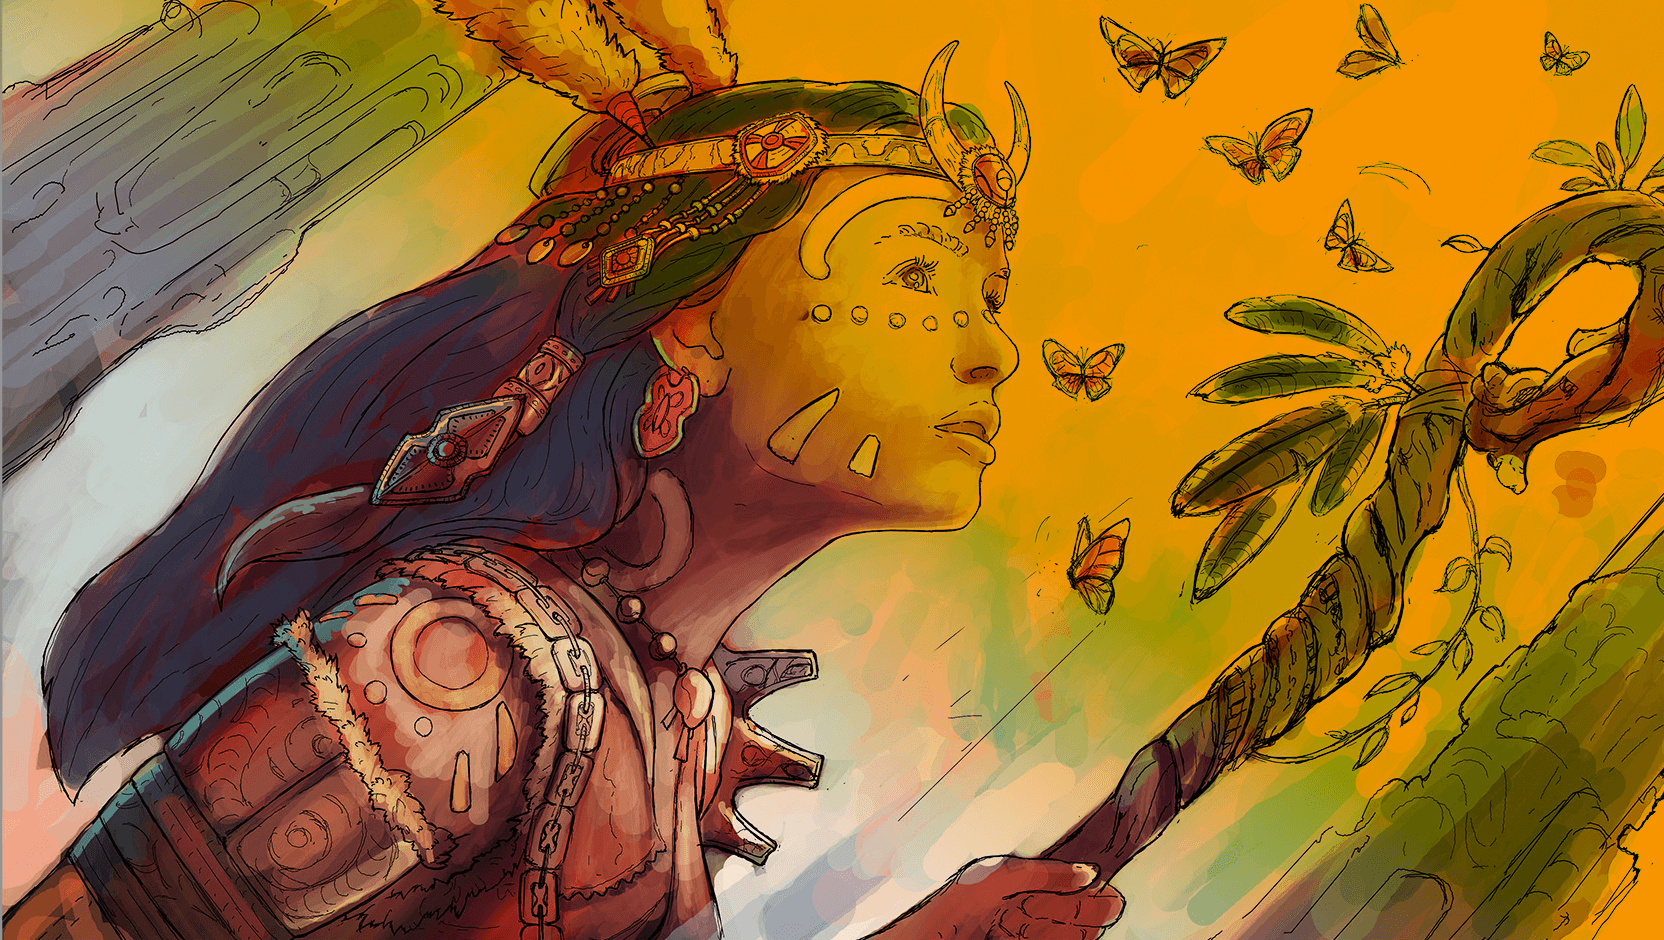
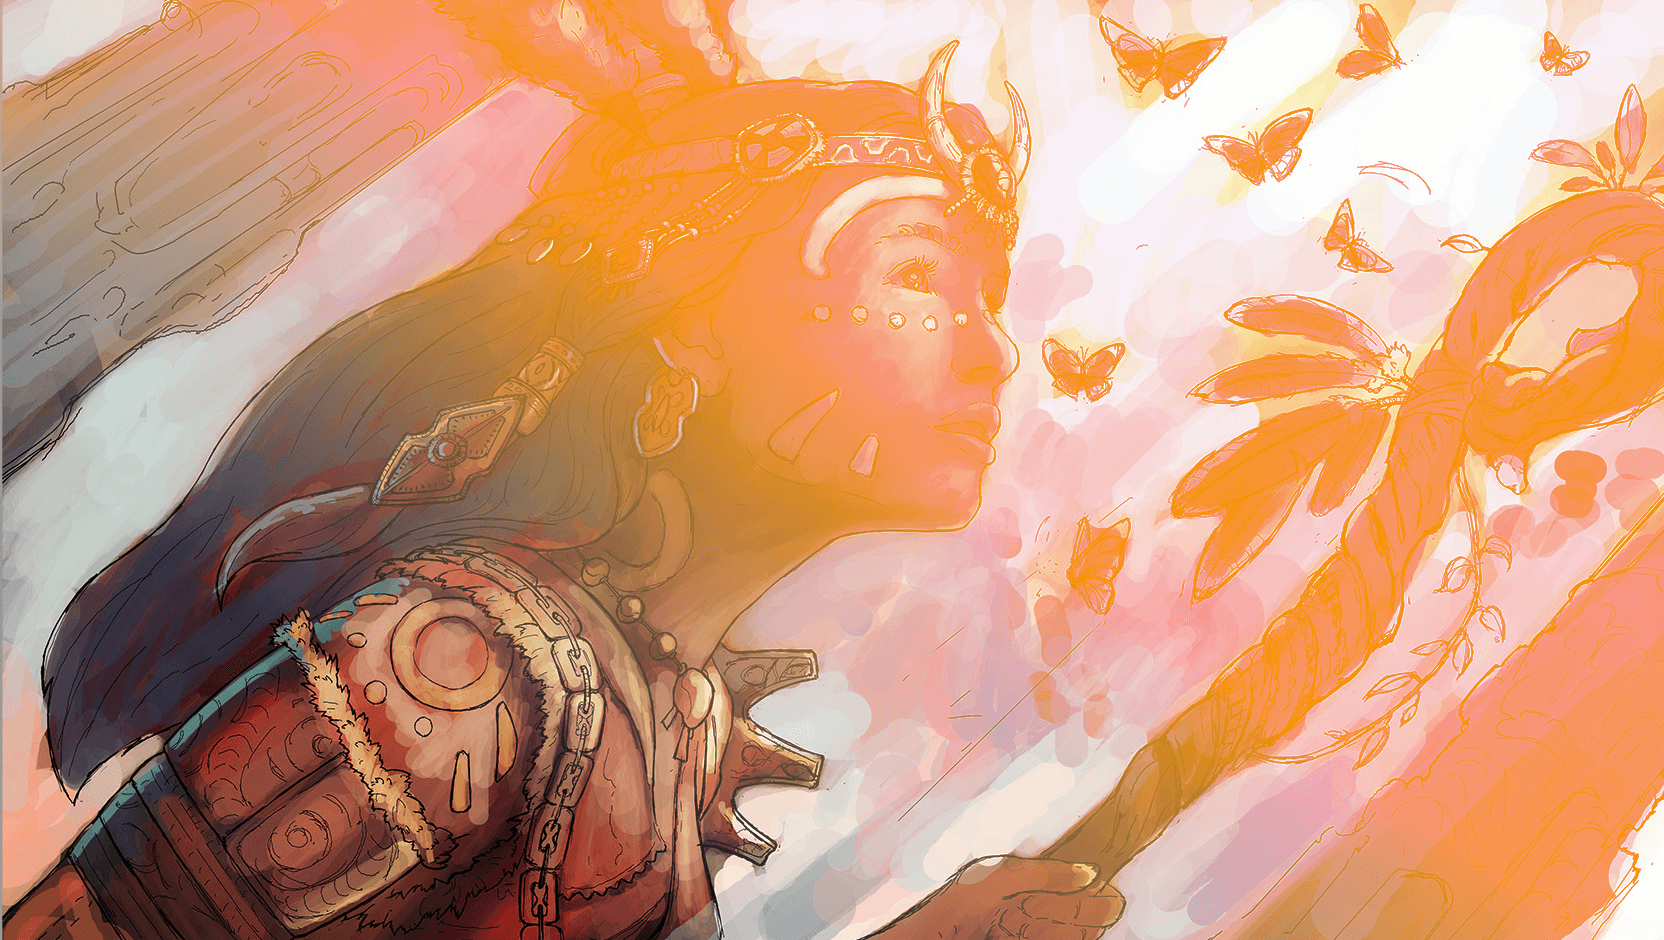
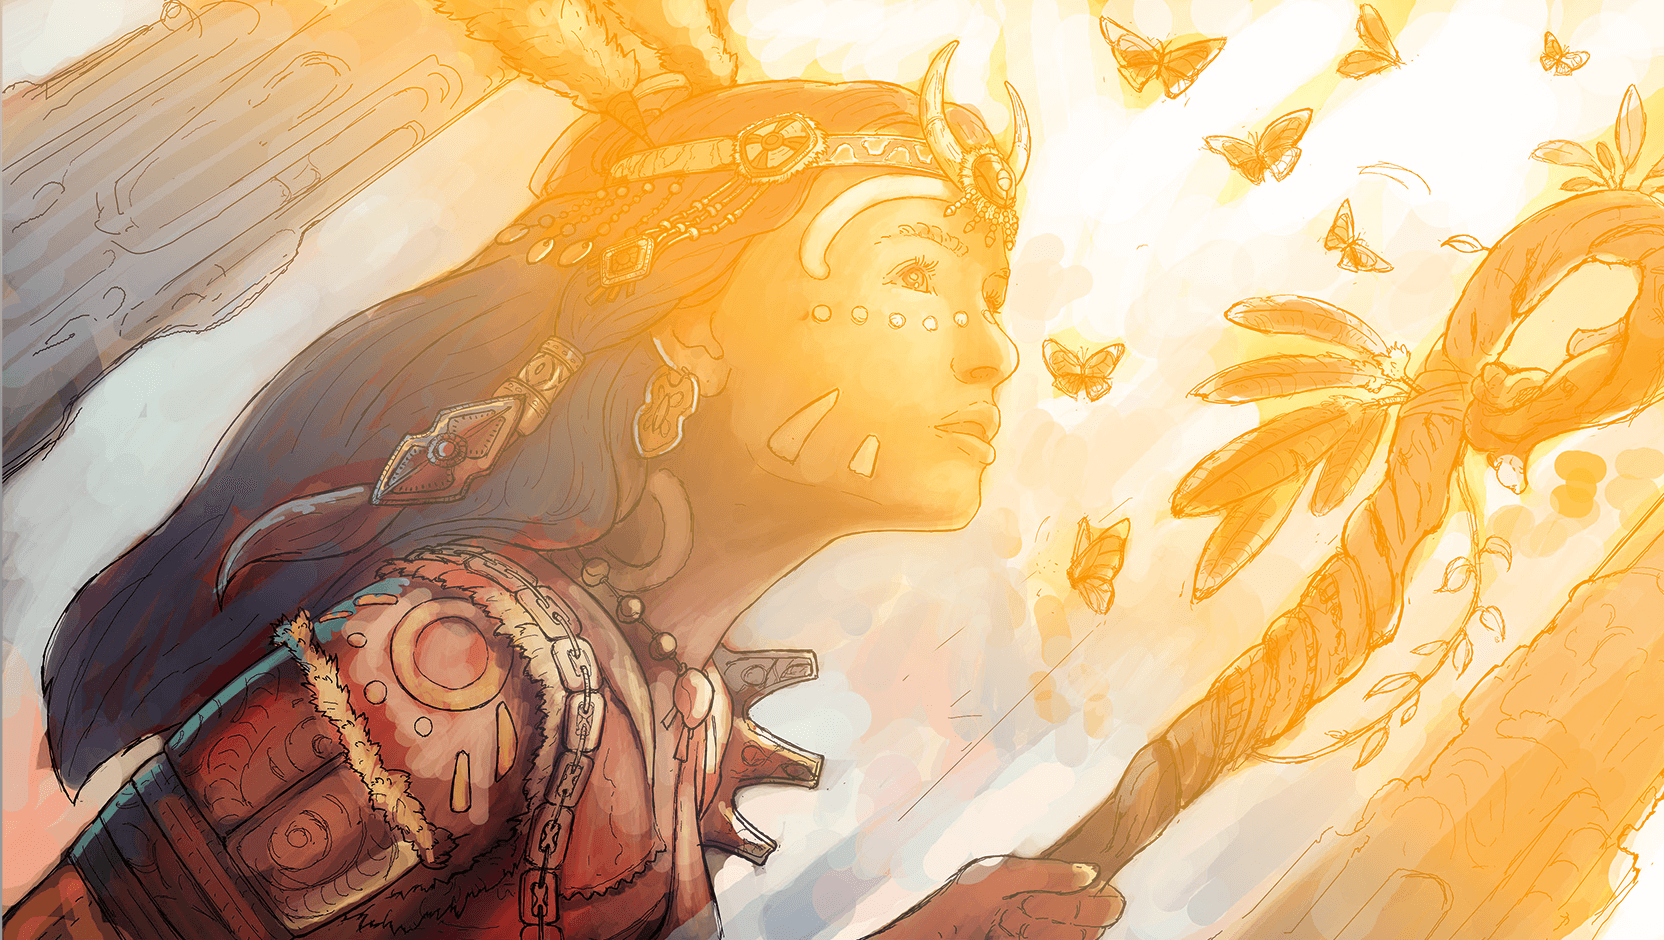
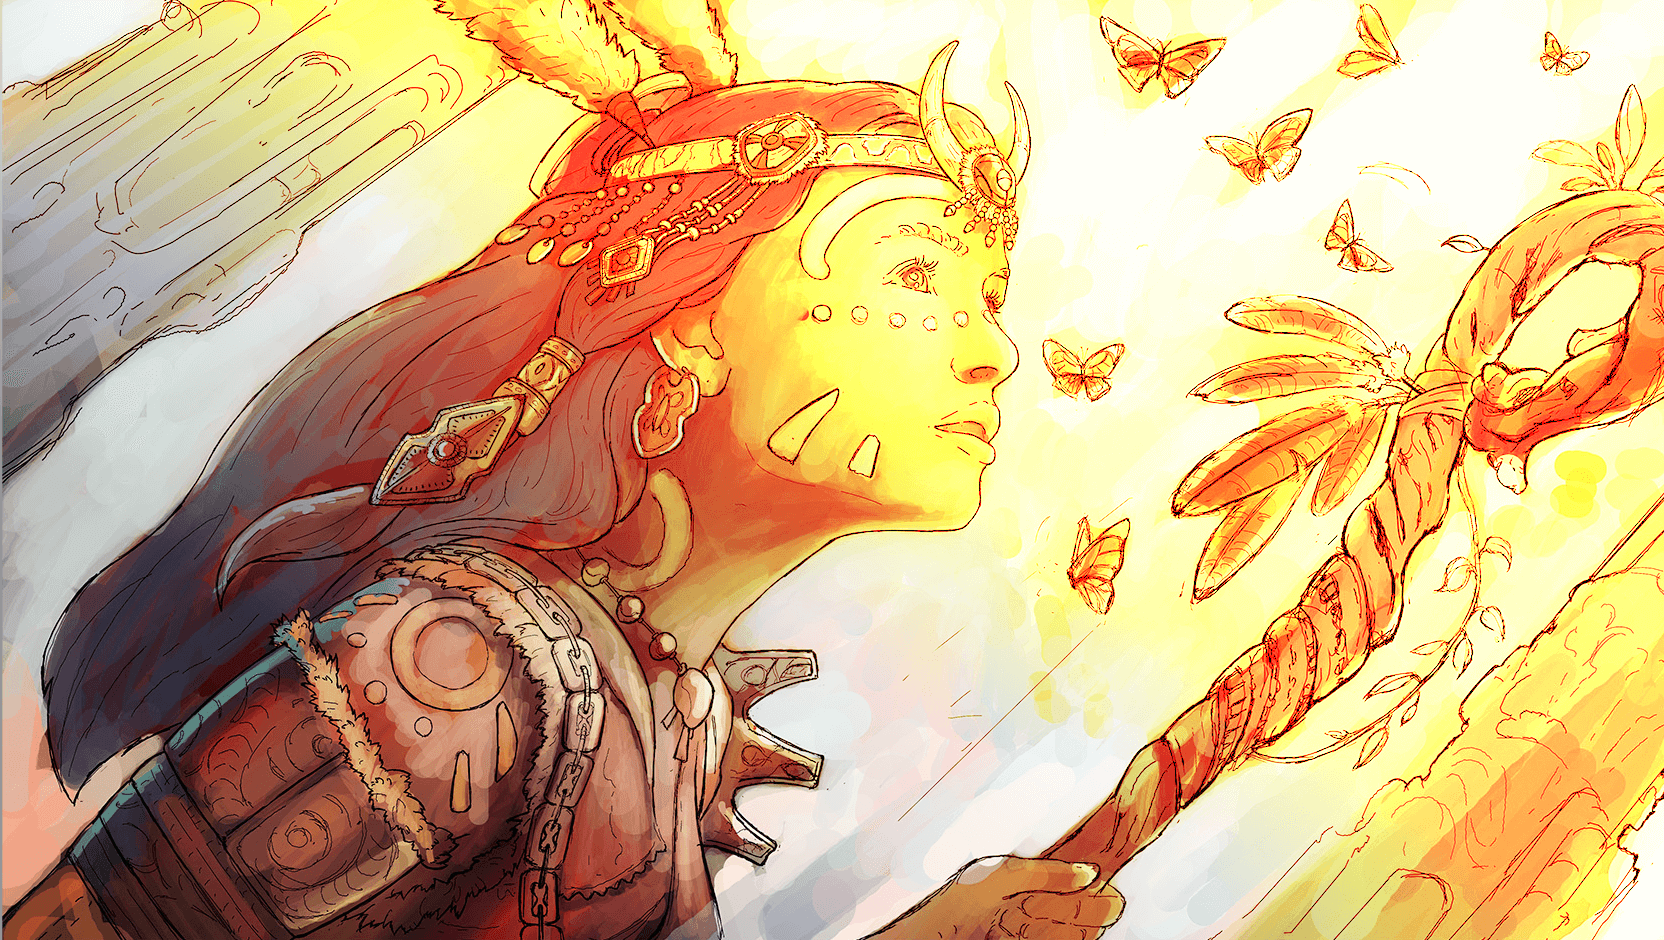
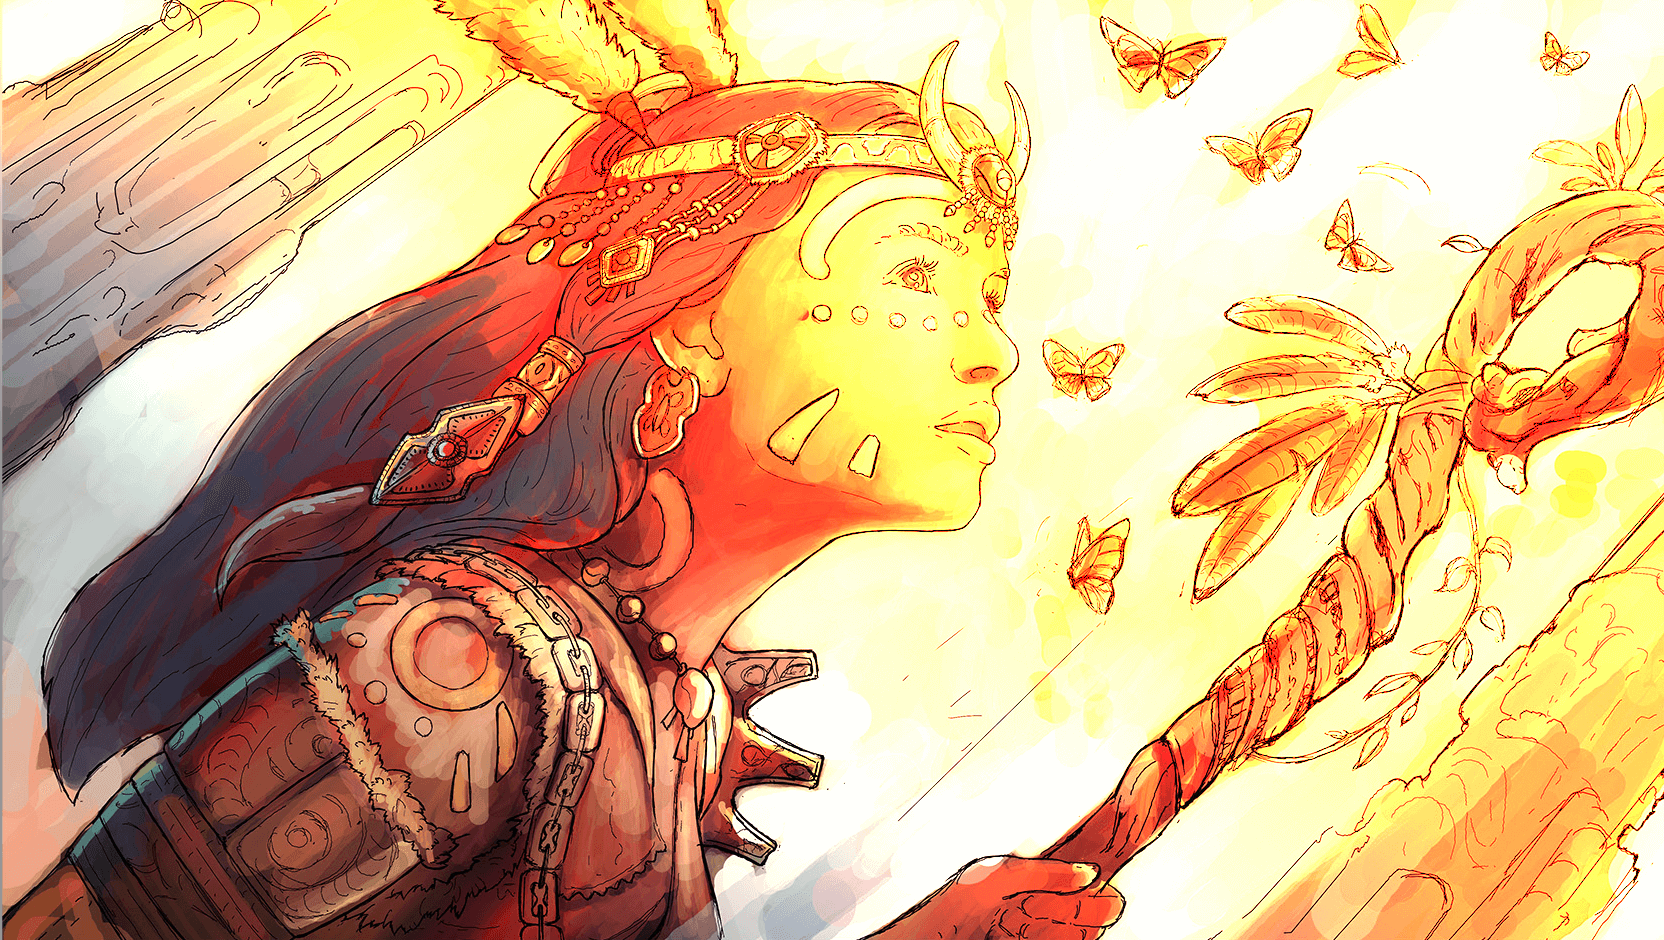
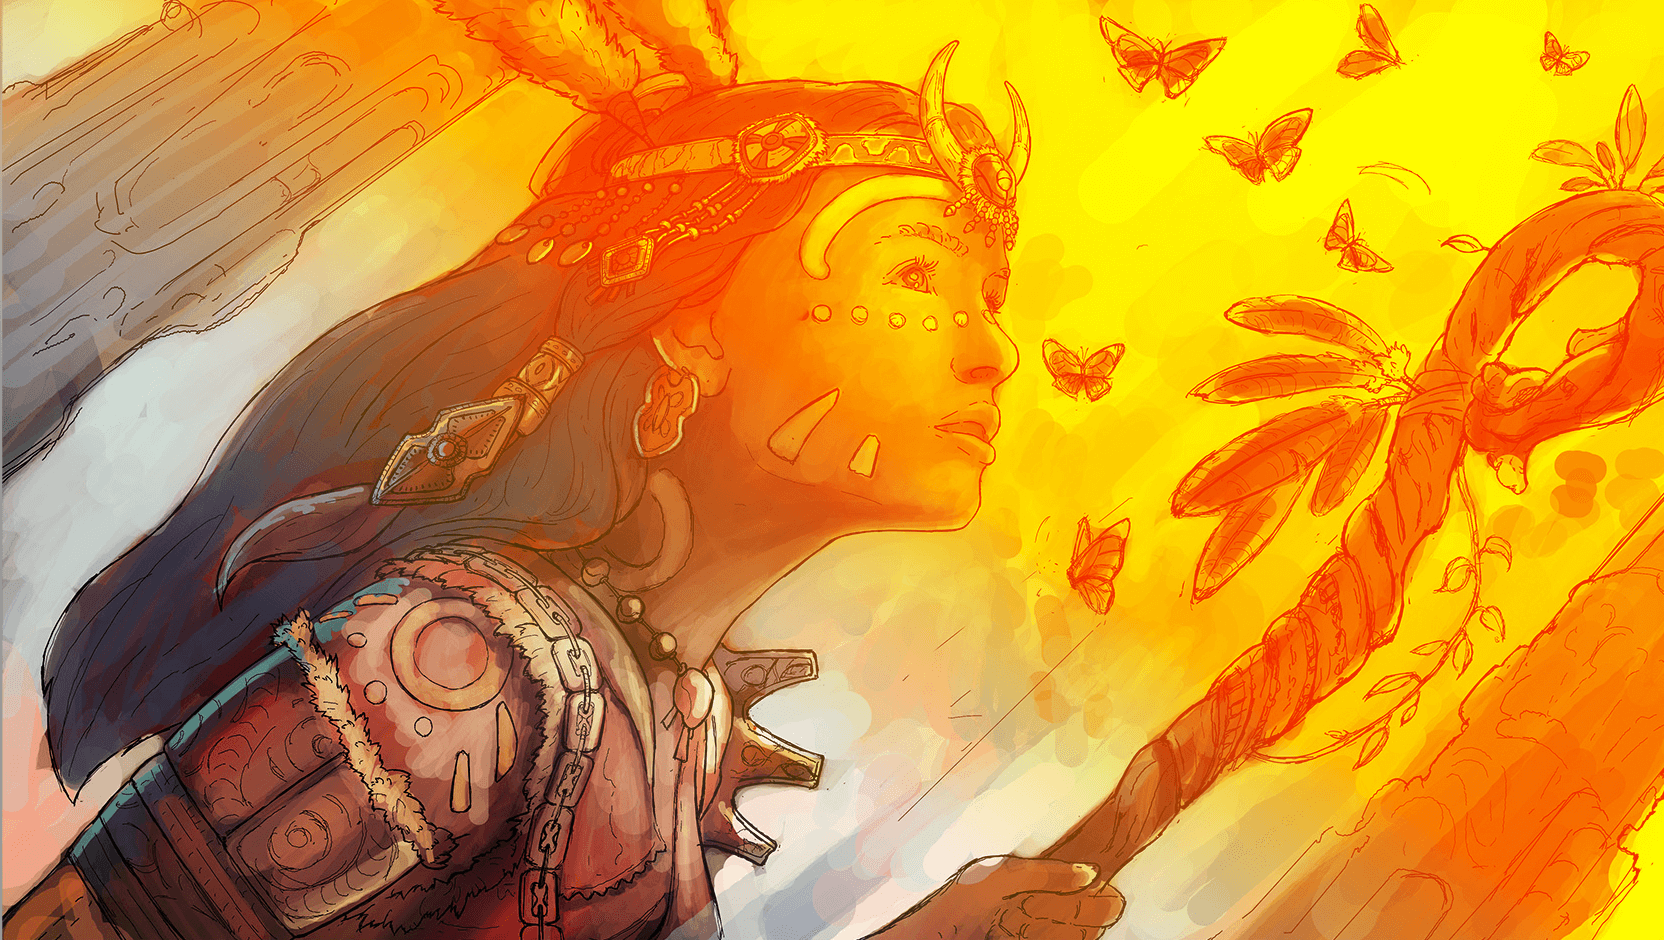
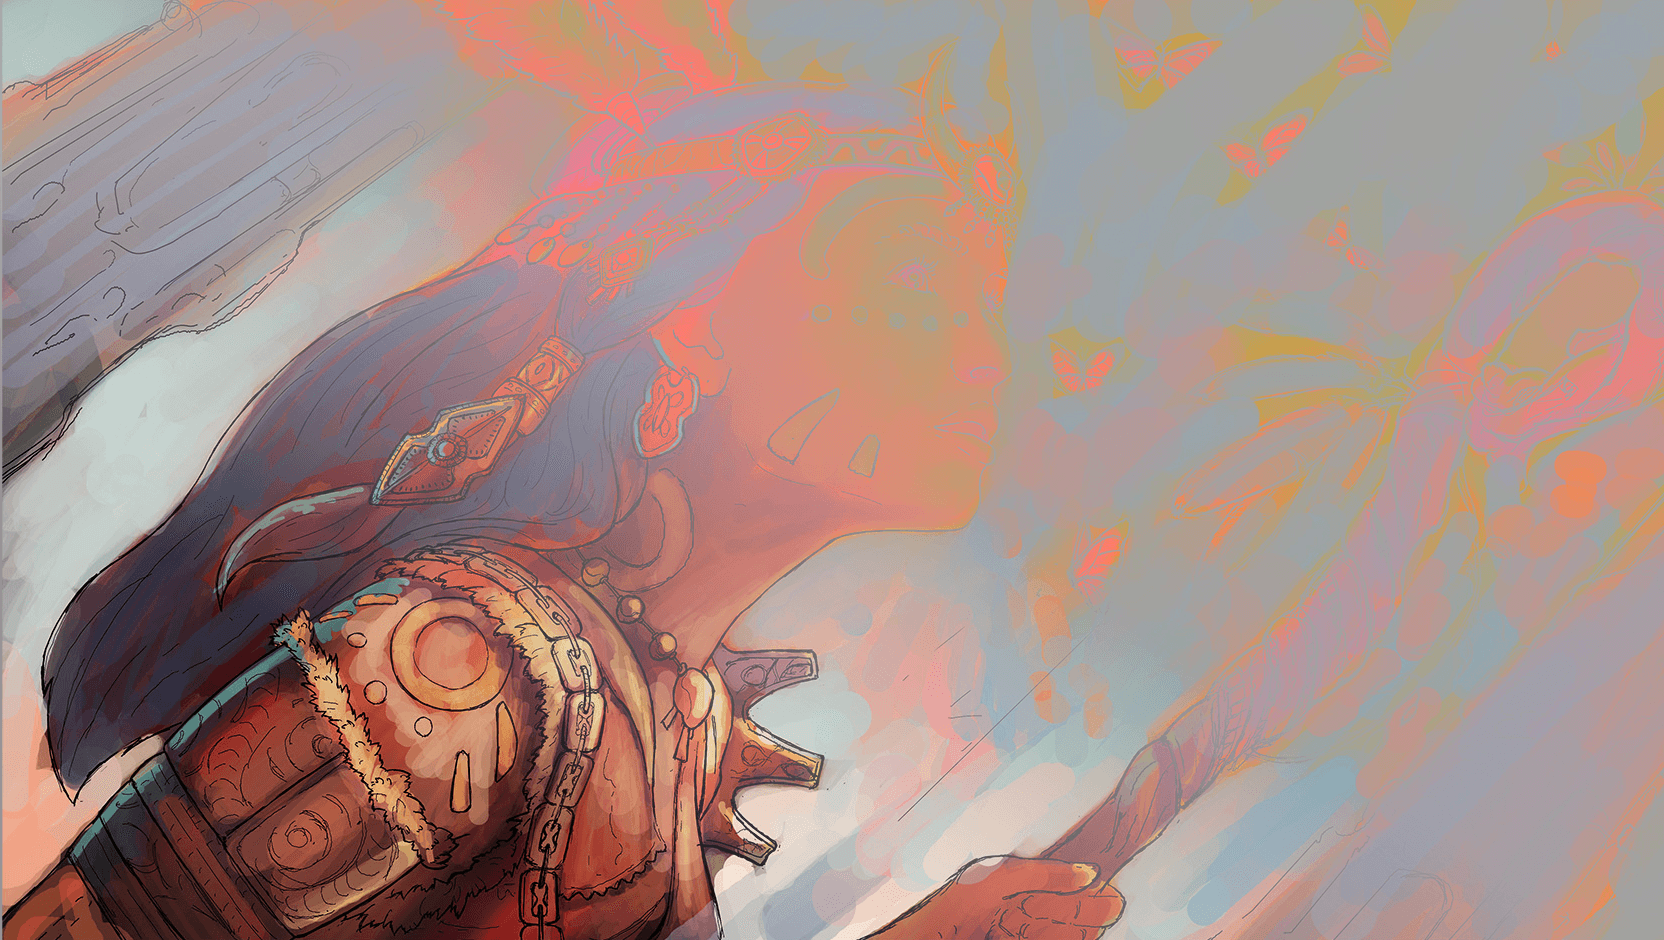
For the below examples of blend modes, the blended layer is the transparent to orange gradient layer, which is one level above. The layer below is the base layer, in this case the illustrated layer. Each example will show a result of a particular blend on this combination of layers.
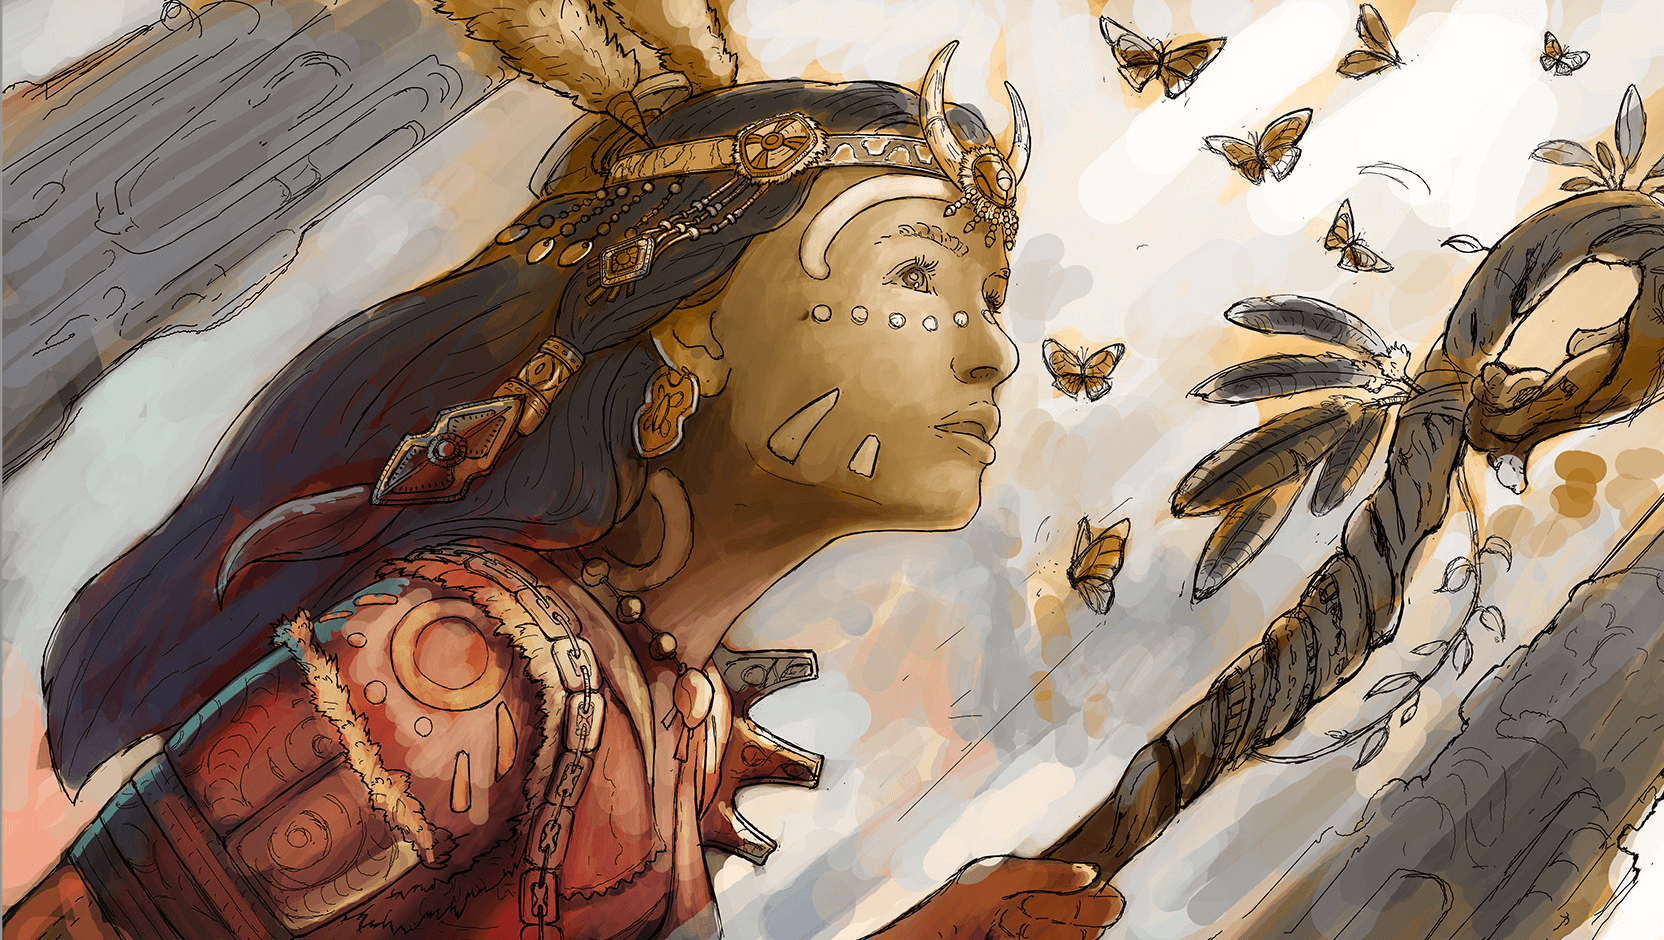
Normal
The layers appear exactly as created. Removes any color correction applied to the blended layer.
Pass Through
Pass Through is a blend mode available to Groups, that make the blend modes of the layers within the group carry through to layers outside of the group.
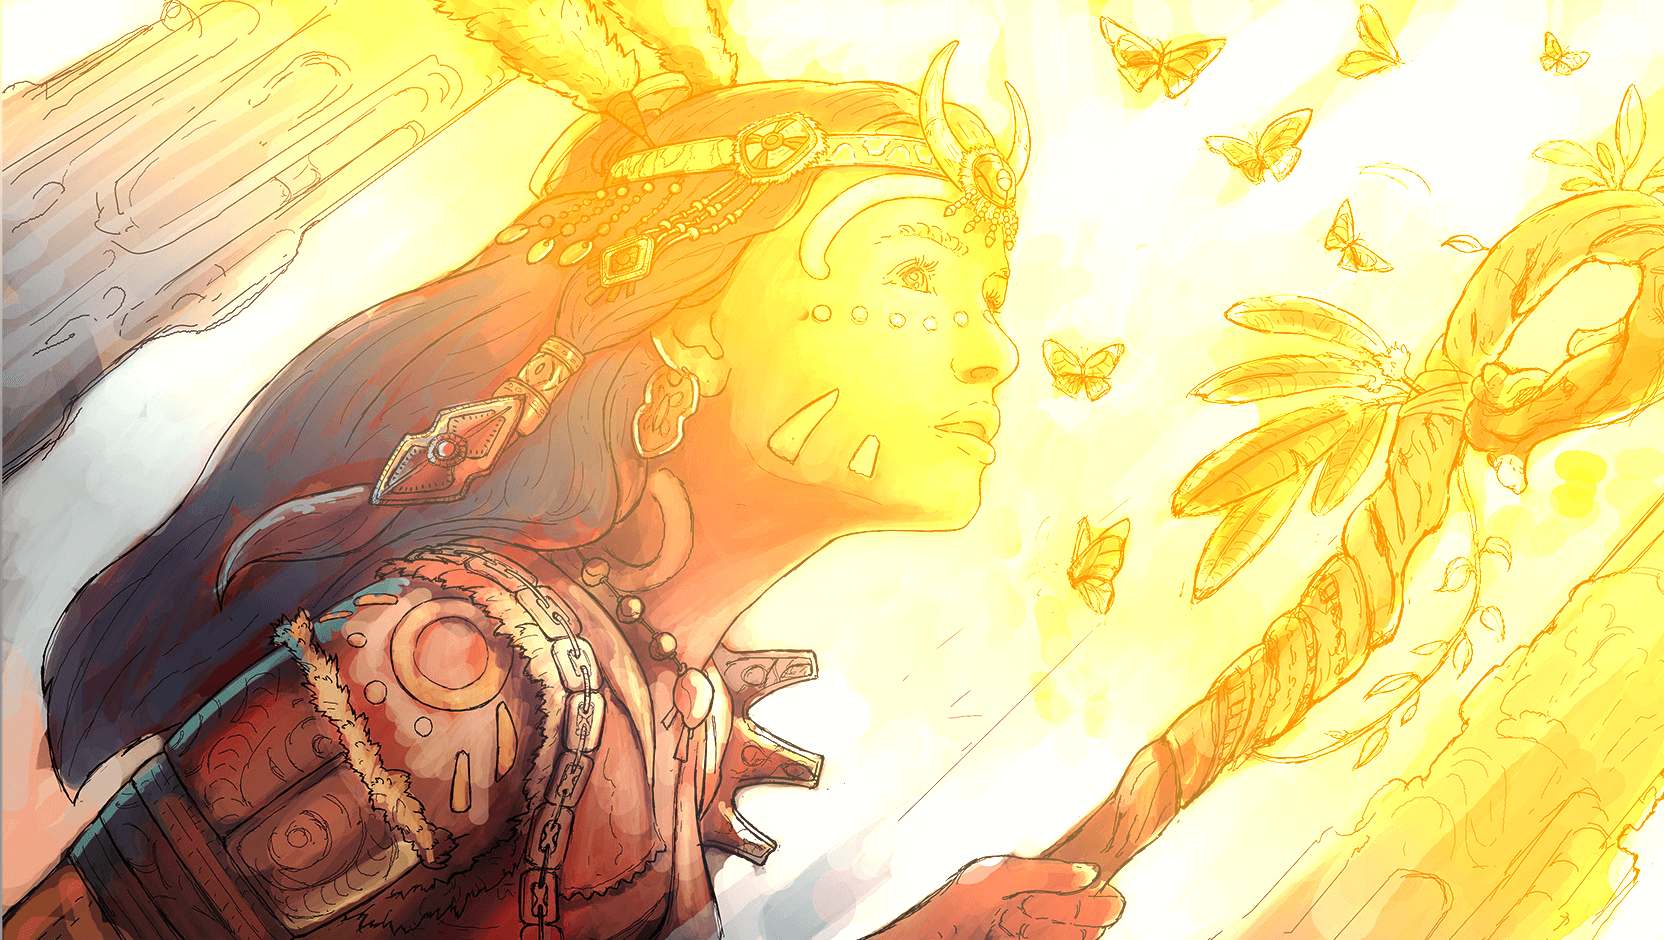
Alpha Mask
Uses the alpha channel of the blended layer (where there are no painted pixels) as a mask. Any colors on the layer do not contribute to the masking. An empty layer with this blend mode will mask the entire canvas
This blend mode is unique to Sketchbook.
Inverse Alpha Mask
Uses the inverted alpha channel of the blended layer (where there are painted pixels) as a mask.
This blend mode is unique to Sketchbook.
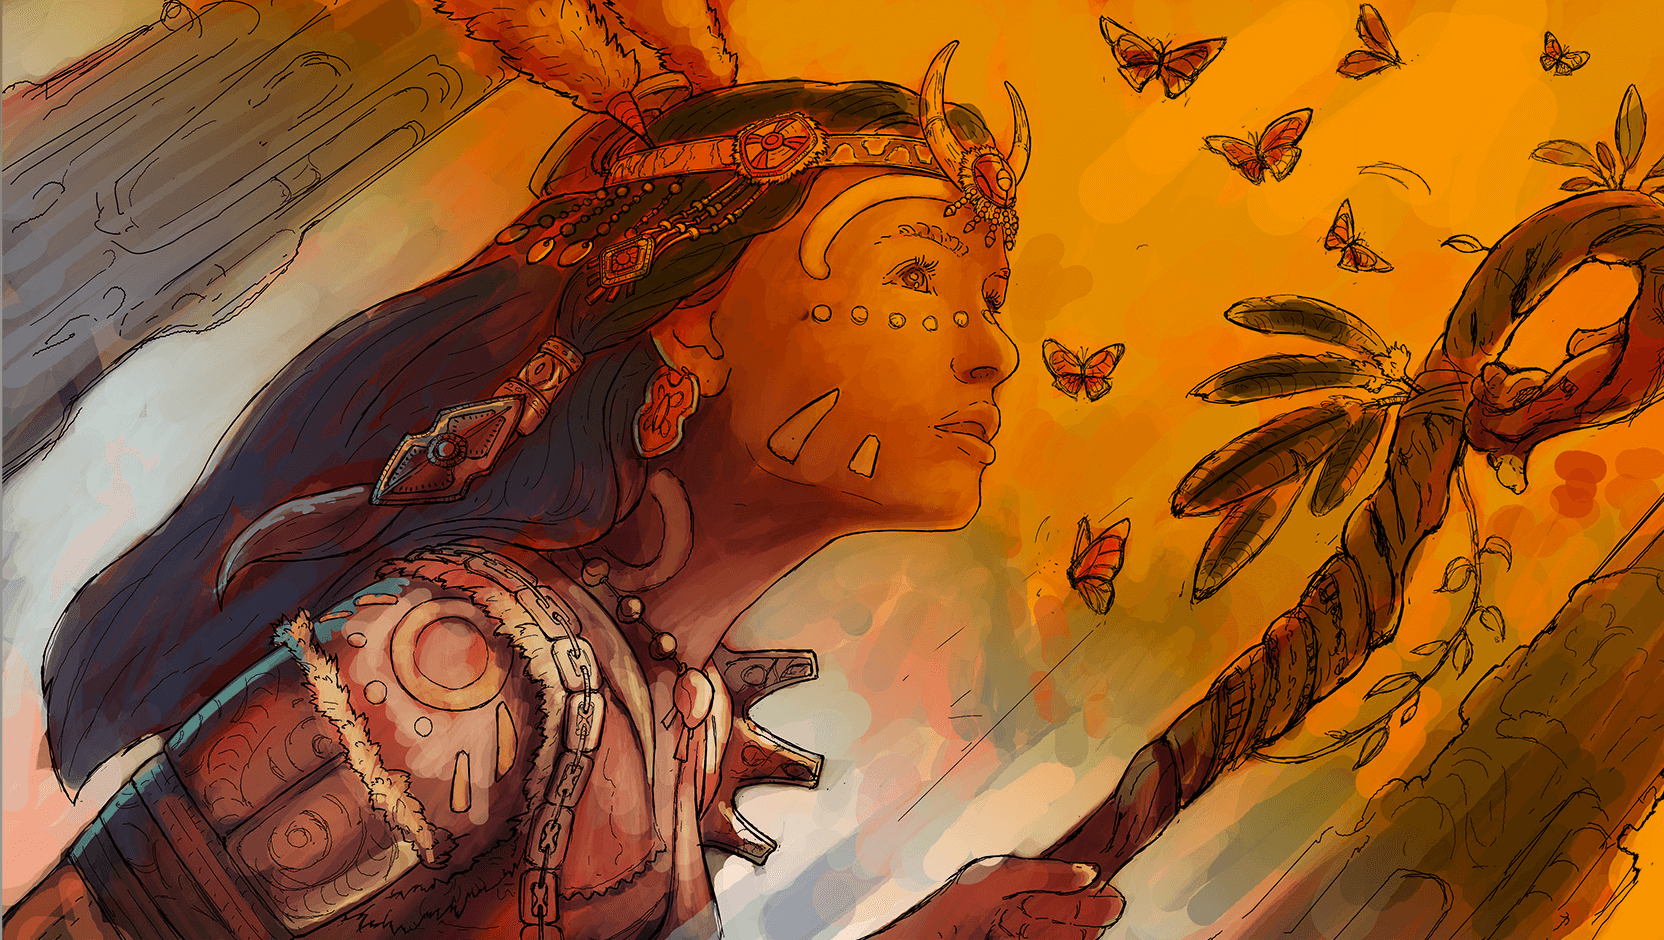
Darken
Compares the pixels between the blended layer and the base layer, and displays the darker of the two.
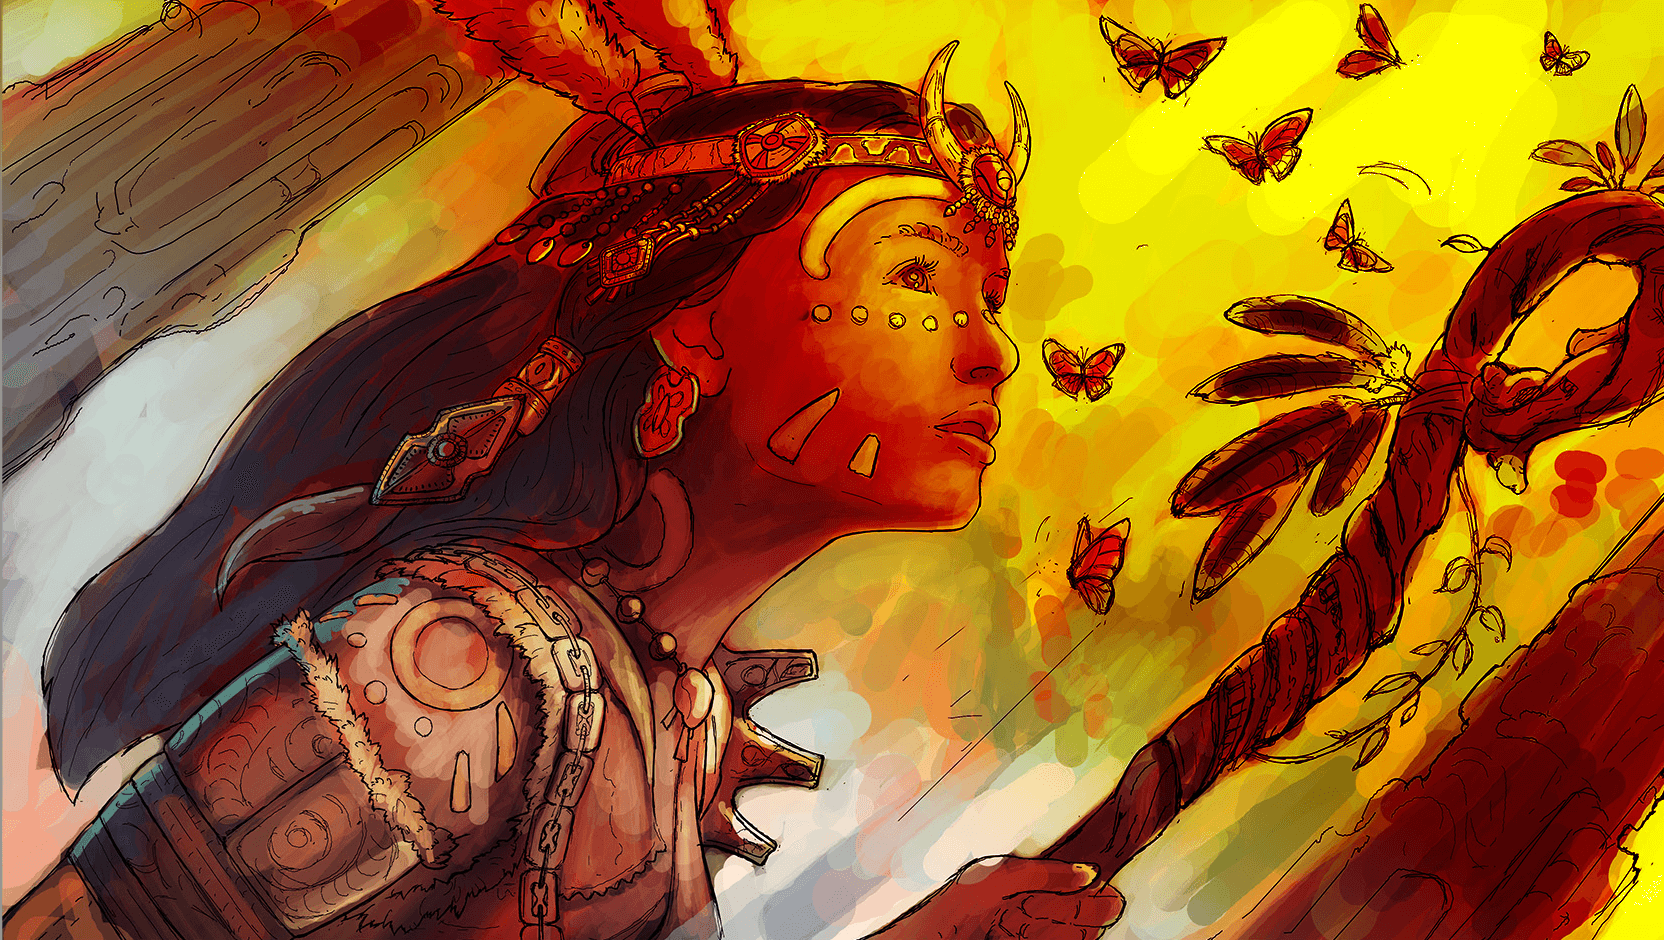
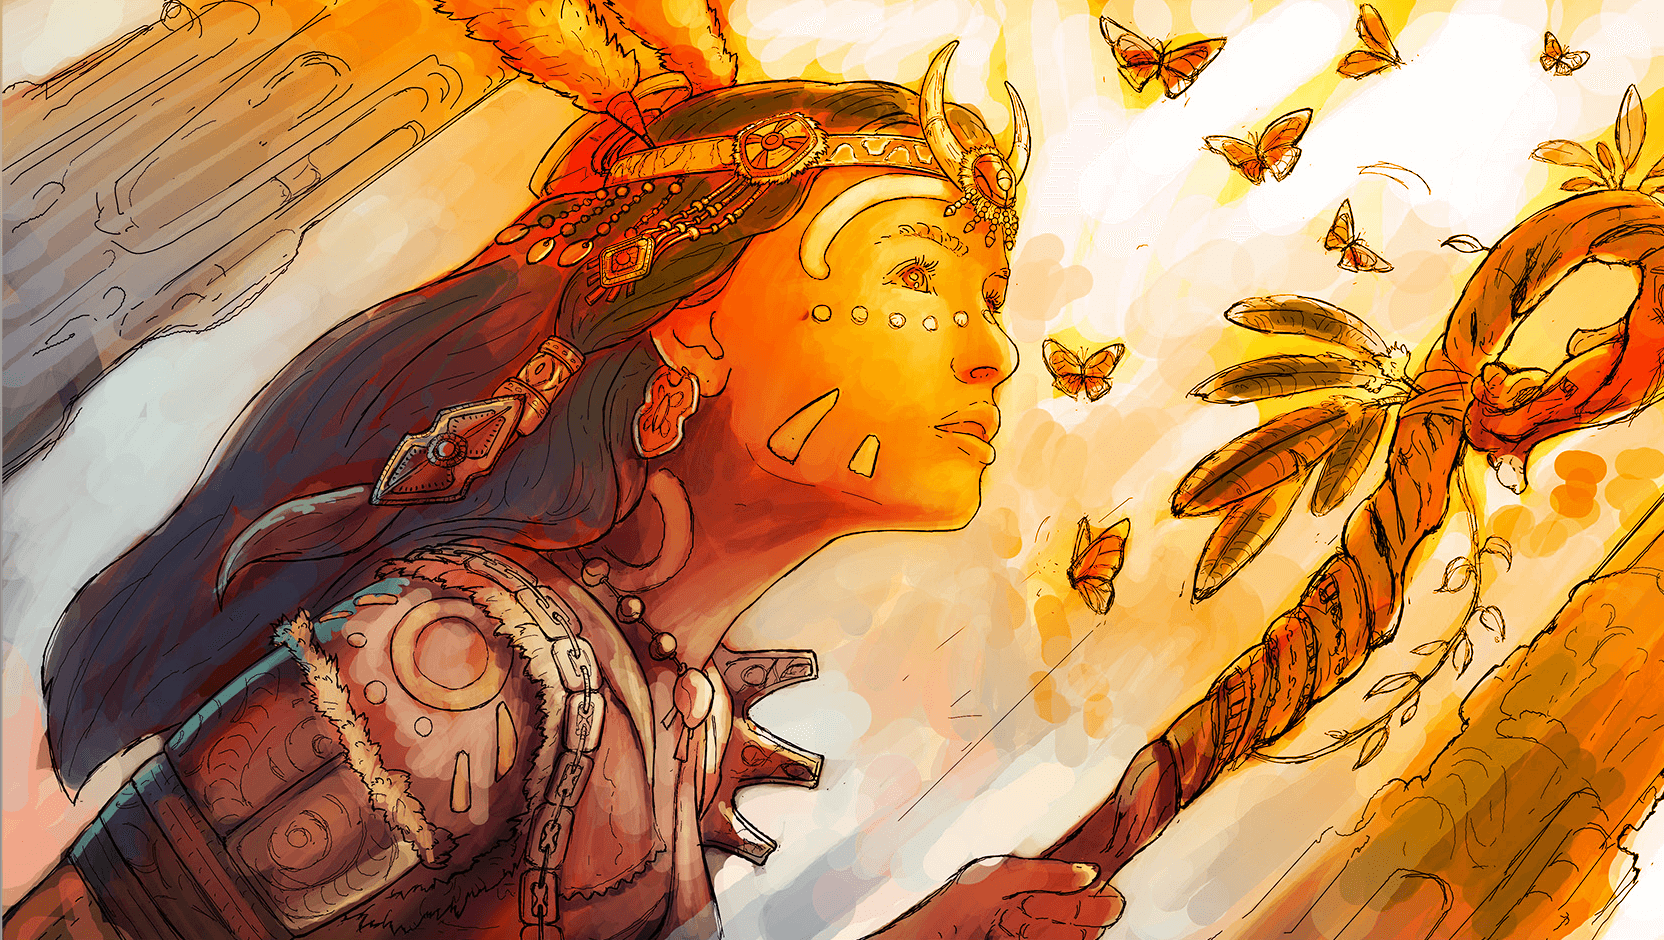
Multiply
A similar effect to combining one or more photographic transparencies together and looking through them. Each pixel on the blended layer is darkened by a value equal to or greater than the value of pixels on the base layer occupying the same location in the layer stack.
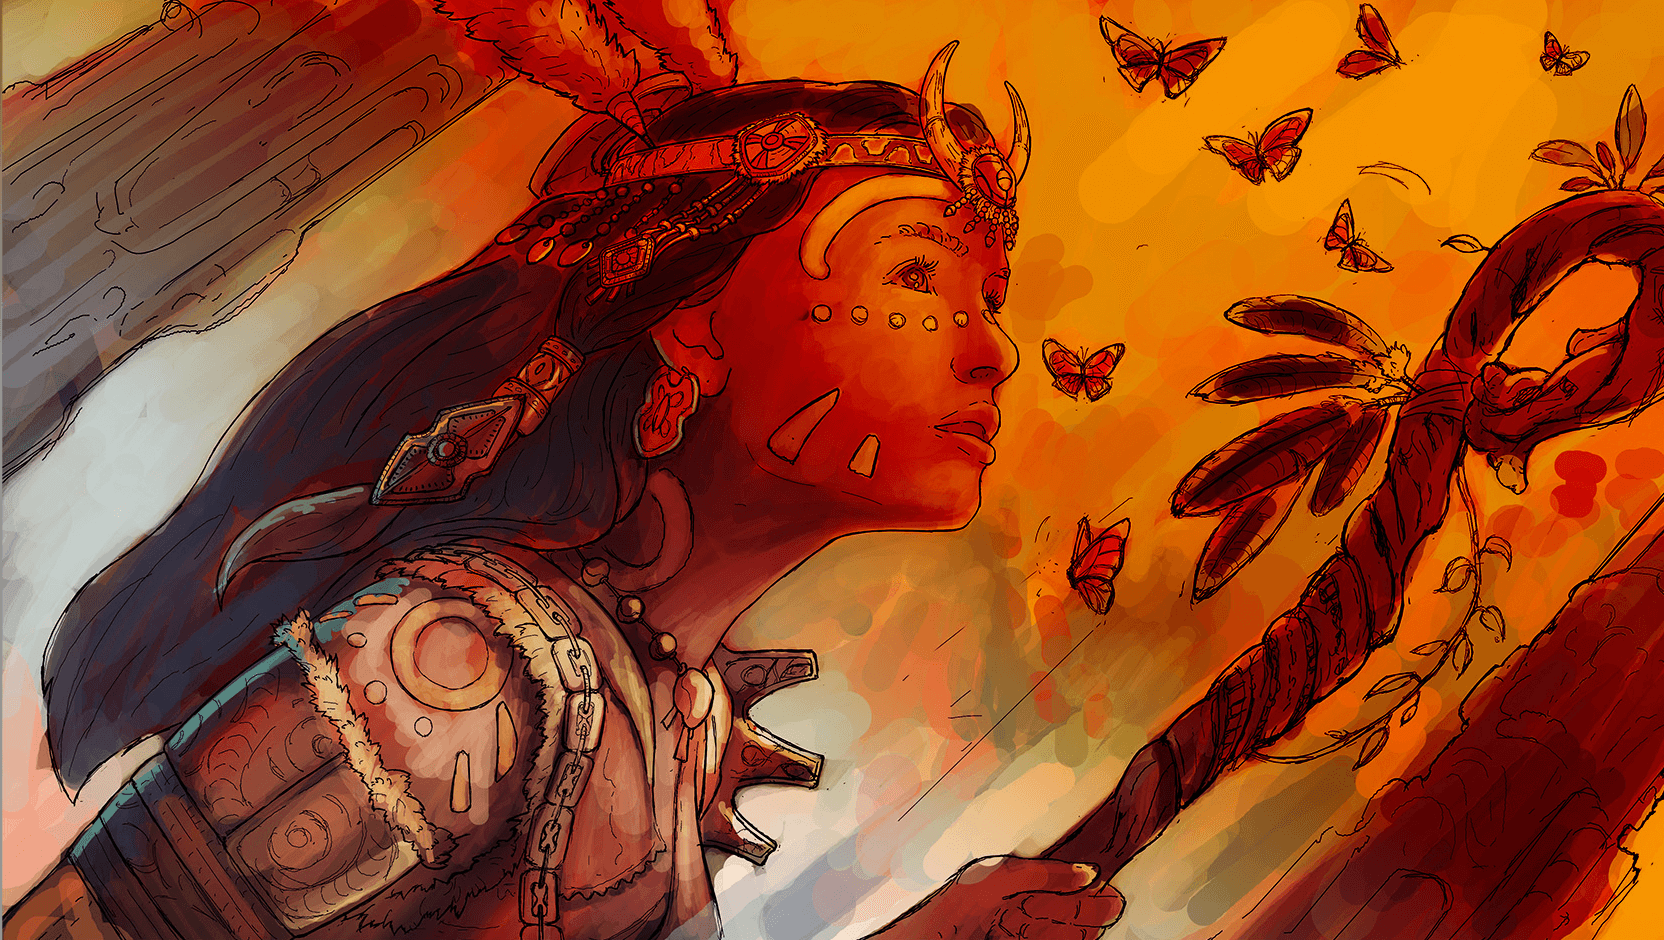
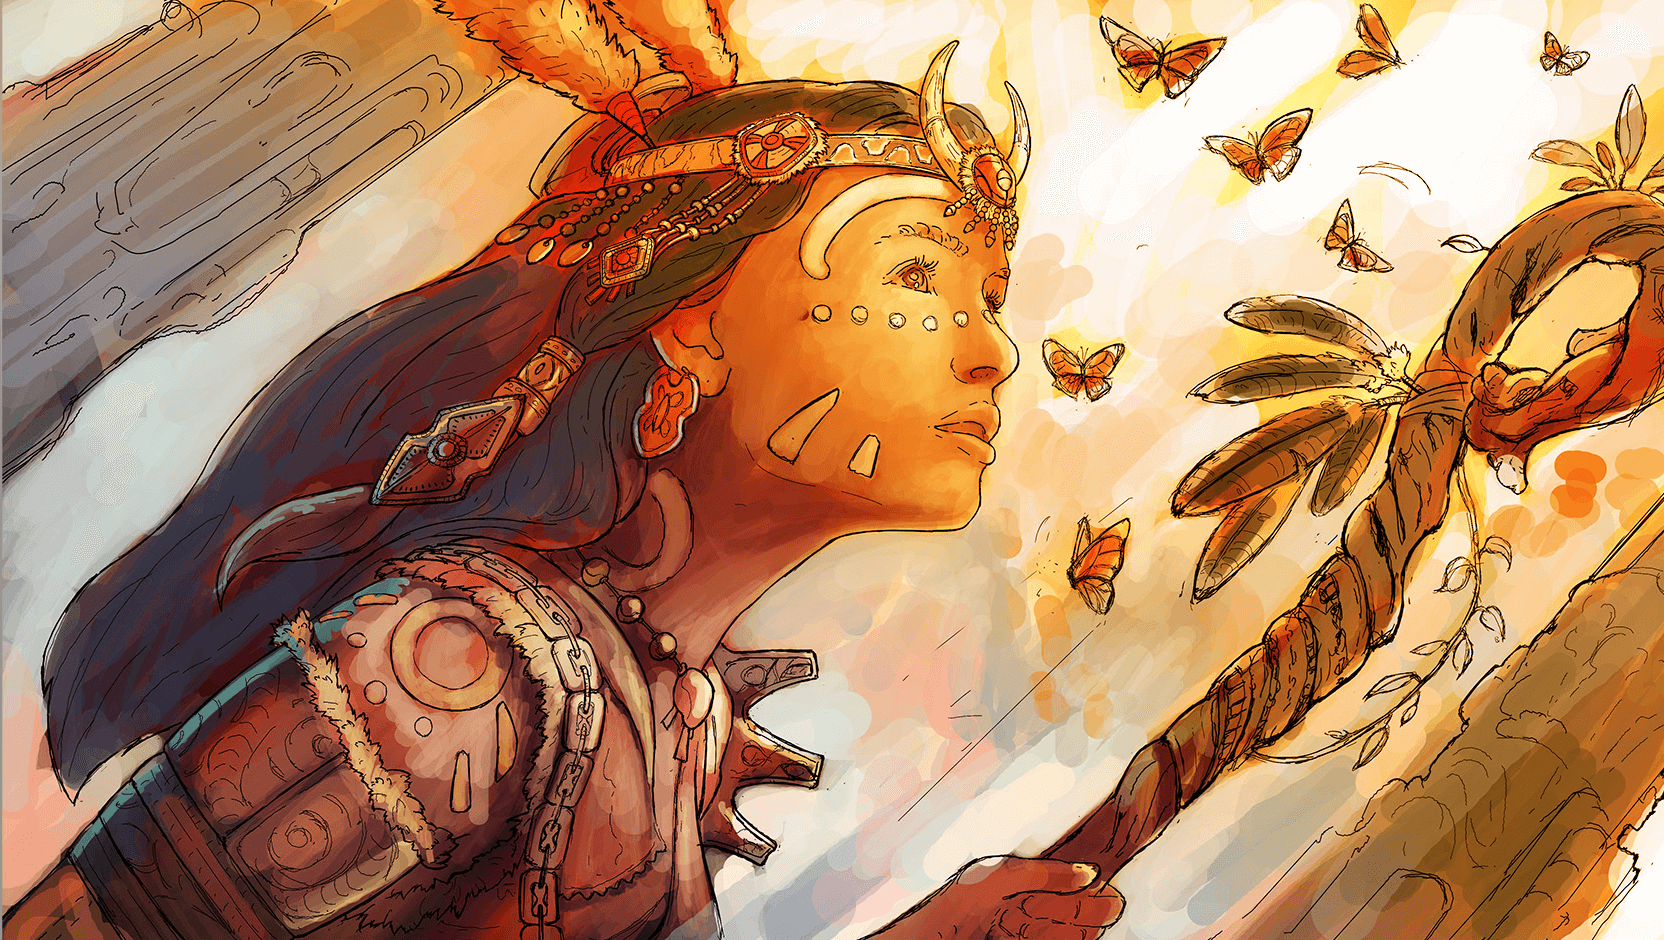
Color Burn
Enhances contrast between the colors of the blended layer and base layer. The intensity of the tones in the blended layer determines the degree of color change:
- darker colors will create a more intense effect.
- white areas remain the same.
Linear Burn
The blended layer is decreased in brightness based on the brightness values on the base layer.
Lighten
The opposite of Darken. Compares the pixels between the two layers and displays the lighter of the two.
Screen
Produces an overall lightening effect, a softer effect than Add. Each pixel on the blended layer is brightened by a value equal to or lesser than the value of pixels on other layers occupying the same location in the layer stack. This effect is opposite to Multiply.
Color Dodge
The opposite of Burn – though results aren’t always opposite. Increases contrast by lightening light areas without having any effect on darker ones.
Linear Dodge (Add)
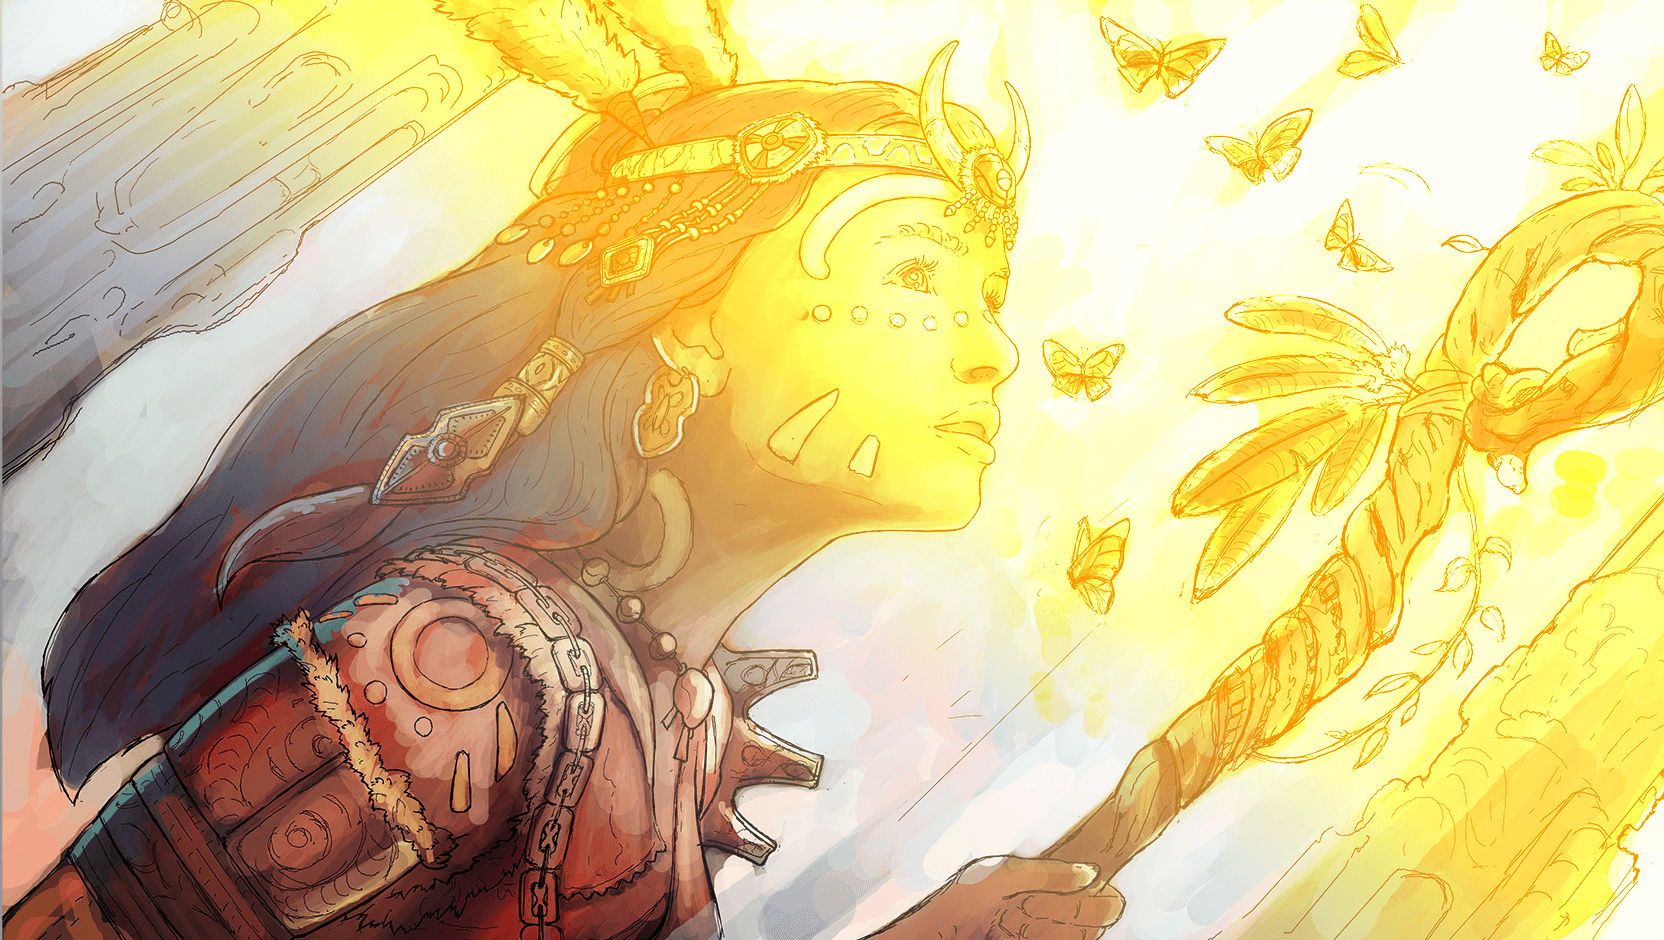
Lightens the overall composition, similar to Screen, but more dramatically. Each pixel is brightened by a value equal to or lesser than the value of pixels on other layers occupying the same location in the layer stack. This is applied as a linear calculation.
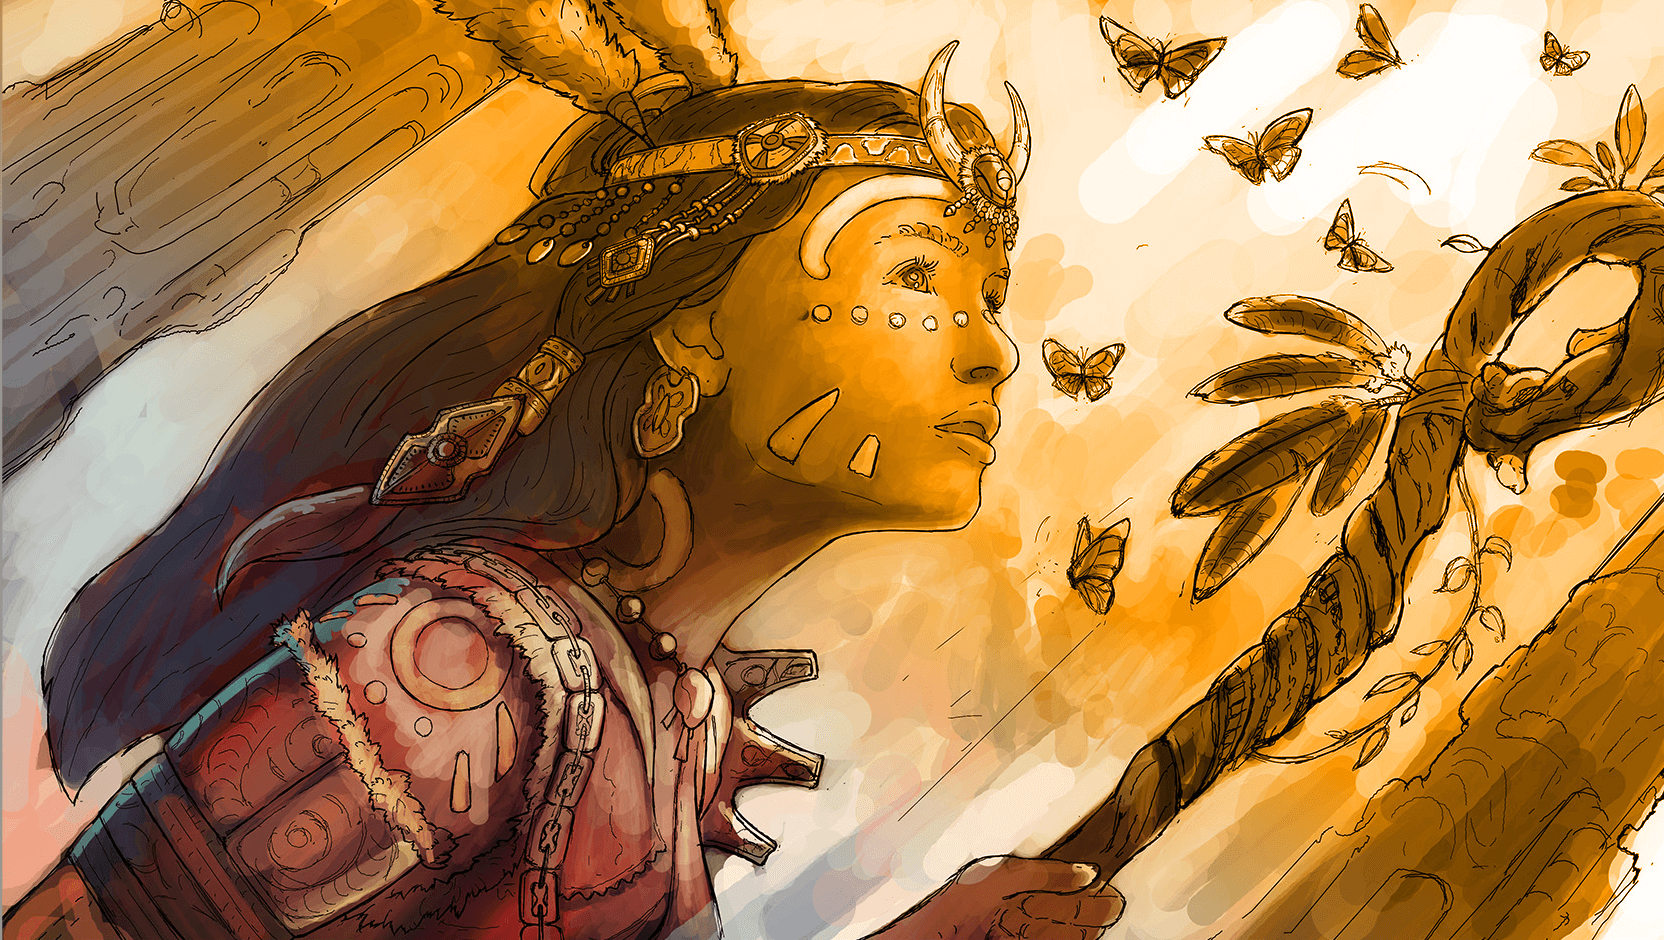
Glow
Defines the brightness of a glow, like the effect of a star in the night sky. The higher the setting, the brighter the glow.
This blend mode is unique to Sketchbook.
Soft Glow
Softens or blurs the color and intensity of Glow, like the light emanating from a translucent object.
This blend mode is unique to Sketchbook.
Overlay
A mix of Multiply and Screen. Takes dark values and multiplies them and screening light values from the base layer. Brightness is unchanged, so it tends to look harsher than Soft Light.
Soft Light
A mix of Darken and Lighten. Takes dark values and multiplies them and screening light values from the base layer; however, in this case, the effect is softer and more subtle than Overlay.
Hard Light
Similar to Overlay, just more dramatic. Determines the pixel color based on grayscale. When more than 50% gray, base layer pixels are screened. Less than 50% gray, they are multiplied.
Hue
Takes the hue of the blended layer, while keeping the brightness and saturation levels of the base layer.
Saturation
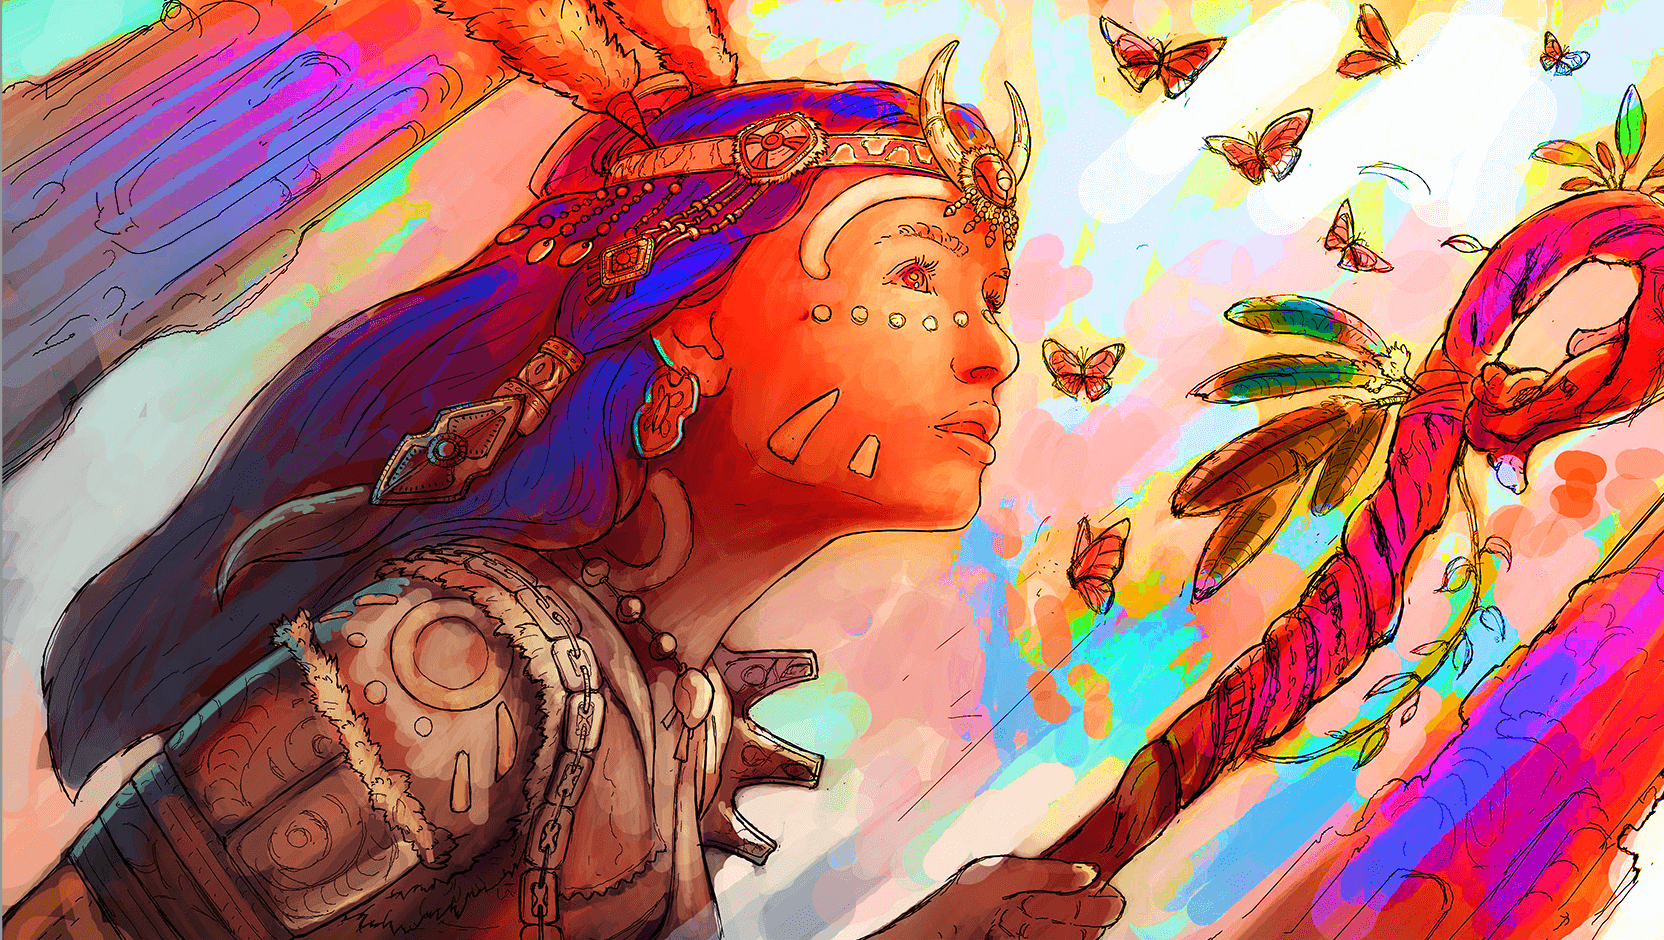
Takes the saturation of the blended layer, changing that of the base layer, without affecting the brightness or hue levels.
Color
Takes the hue of the blended layer, changing the color of the base layer, without affecting the luminosity.
Luminosity
The opposite of Color, it blends the lightness, while ignoring the color information.
Layer blending in Sketchbook Pro for desktop
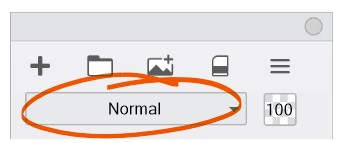
In the Layer Editor, with a layer selected, tap the arrows (below the Layer Editor toolbar) to cycle through and select a layer blending method.
Blend modes are also available in the form of Shading brushes.
Changing your image to black and white
- In the Layer Editor, add a layer to the top of the layer stack.
- In the toolbar, select Flood Fill, select
 (Solid Fill), and fill the layer with black.
 - Below the Layer Editor toolbar, tap the drop-down menu arrow and select Hue from the list.
Layer blending in Sketchbook for mobile devices
To add a blend mode, do the following:
- In the Layer Editor, tap the layer the blend mode will be applied to.
- Tap the layer to access the Layer Menu.
- Tap the Blending section for a list of blend modes.
- Select a blend mode from the list and see the effect instantly.

Changing your image to black and white on Mobile
The version of Sketchbook you are running and device determine the location of the tools.
For tablet users
- In the Layer Editor, add a layer to the top of the layer stack.
- In the toolbar, select
 Flood Fill.
 - Select
 (Solid Fill) and fill the layer with black.
 - Double-tap the new filled layer to open the Layer Menu.
- Tap Blending and select Hue from the list.
For handheld device users
- In the Layer Editor, add a layer to the top of the layer stack.
- In the toolbar, select
 Tools > Flood Fill.
 - Select (Solid Fill) and fill the layer with black.
- Double-tap the new filled layer to open the Layer Menu.
- Tap Blending and select Hue from the list.