Jump to Mobile
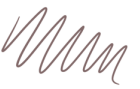
Stylus tilt helps your stylus create a stroke with the directionality you expect and controls how the stroke of the brush is drawn.
Setting stylus tilt in Sketchbook Pro for desktop
Stylus tilt is found in Brush Properties in the Advanced tab and when set, it helps your stylus create a stroke with the directionality you expect.
So what does tilt do? It controls how the stroke of the brush is drawn. If you want to control the tilt of your stylus, use Scaling Percentage and Controlled by stylus tilt.
- In Brush Properties, tap the Advanced tab.
- Scroll down to Stamp, tap Rotation > Rotation Dynamics, then select Controlled by stylus tilt. Without this set, the tilt of your stylus won’t have any effect on the strokes of your brush.
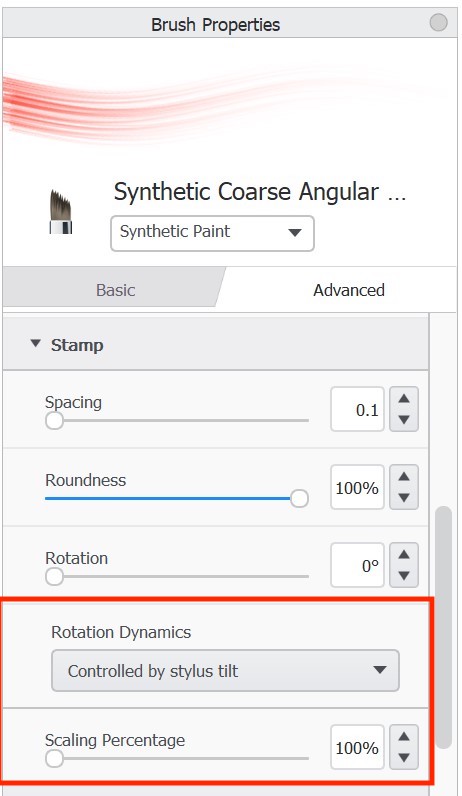
- Tap-drag the Scaling Percentage slider to control the elongating of the brush stamp in conjunction with the tilt of your stylus.
- With a low Scaling Percentage, you have to tilt your stylus a lot more to achieve the tilting effect.
- With a higher value, you don’t have to tilt your stylus as much to reach a similar effect.
If your stylus has an eraser, Scaling Percentage will apply to both the eraser and stylus tip.
Setting stylus tilt in Sketchbook for mobile devices
Stylus tilt is supported for Apple Pencil and Apple Pencil Pro
Setting tilt options
You can set tilt scaling for any brush; however, it is only available for Apple Pencil and Apple Pencil Pro as these are styluses with built-in tilt functionality.
Scaling creates the tilt effect when drawing. It controls the elongation of the brush stamp. The higher the value, the more elongated the stamp.
By default, Scaling goes from a minimum value of 100% (meaning that the brush stamp won't change no matter how much you tilt your stylus)
to 400% (meaning the brush stamp is elongated and enlarged to a maximum of 4 times its original size when you really tilt your stylus).

- open brush properties
- Expand the Stamp section. Below Rotation, you will see Tilt.
- Drag the Scaling slider to control the elongating of the brush stamp in conjunction with the tilt of your stylus.
- With a low Scaling value, you have to tilt your stylus a lot more to achieve the tilting effect.
- With a higher value, you don't have to tilt your stylus as much to reach a similar effect.
Barrel roll
Sketchbook supports barrel roll with Apple Pencil Pro. As you rotate the barrel of your Apple Pencil Pro the brush stamp will rotate accordingly. This can allow you to more precisely place stamps and decals, or create calligraphy effects with chisel-tipped brushes.
Barrel roll is paired with stylus tilt in Brush Properties. If you have an Apple Pencil Pro, you will see the rotation dynamics option "Stylus Tilt and Roll". Some brushes such as chisel-tipped markers have stylus tilt enabled by default, or you can enable (or disable) it based on your preference.