Jump to Mobile
When making a selection, sometimes you grab areas you don’t want. When this happens, instead of redoing your selection, use  Remove.


Removing sections from a selection in Sketchbook Pro for desktop
- Once you’ve made a selection, tap
 , then either tap-drag to remove sections from it or for the Magic Wand selection, tap areas you want deselected.
NOTE: If Magic Wand was selected, decrease the Tolerance to remove pixels to your selection, then tap the canvas again to see the change.
- Tap
 to accept the changes and exit the tool.
Removing sections from a selection in Sketchbook for mobile devices
If you want to delete a selection, you can use  Remove or
  Cut.
Cut.
Using Remove in Sketchbook for mobile devices
- Once you made a selection, tap
 , then either tap-drag to remove sections from it or for Magic Wand selection, tap areas you want deselected.
NOTE: If Magic Wand was selected, decrease the Tolerance to remove pixels to your selection, then tap the canvas again to see the change.
NOTE: Did you know that you could use another tool, while still in selection mode?
- Tap
 to accept the changes or X to decline.
Using Cut in Sketchbook for mobile devices
- Make a selection.
NOTE: If Magic Wand was selected, decrease the Tolerance to remove pixels to your selection, then tap the canvas again to see the change.
- If the Layer Editor isn't open, tap
 to open it.
 - Tap-hold the layer with the selected content to access the Layer Menu.
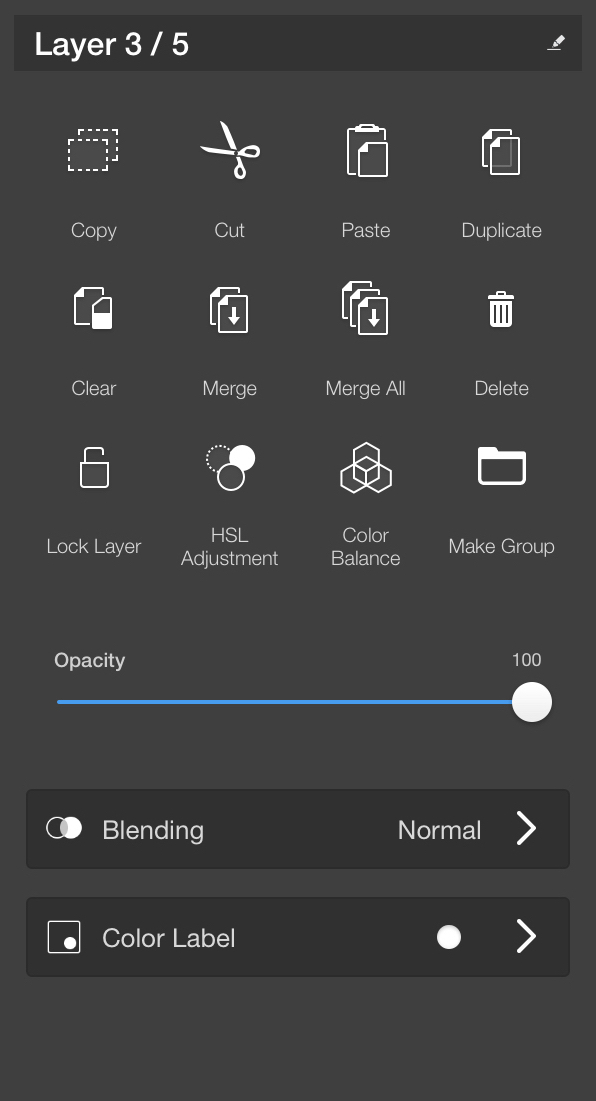
- Tap Cut.