Need help drawing a straight line, circle, ellipse, or curve? These guides can be found in the toolbar.
- Ruler
- Curved Ruler
- Ellipse
- French Curve (only in Sketchbook Pro on desktop)
Ruler
Use ![]() to create a perfect line anywhere on the canvas, by moving and repositioning the ruler.
to create a perfect line anywhere on the canvas, by moving and repositioning the ruler.
Did you know you don't have to draw directly over the ruler? Drawing anywhere in the canvas still draws a line along the edge of the ruler.
How to use the ruler
Tap  , then
 ![]() to access the ruler.
to access the ruler.
| Desktop | Mobile |
|---|---|
To pivot the ruler, tap-drag an end handle  |
To rotate the ruler, press with 2 fingers. The ruler will snap to 0º and 90º. |
To move the ruler, tap-drag the center handle 
|
To move the ruler horizontally and/or vertically without changing its rotation, tap-drag with 1 finger. |
| To snap the ruler to 0º or 90º, double-tap an end handle | To reset the ruler’s position, double-tap with 1 finger. |
When finished using the ruler, tap  to exit the ruler. to exit the ruler. |
When finished using the ruler, tap the tool icon again to disable it. |
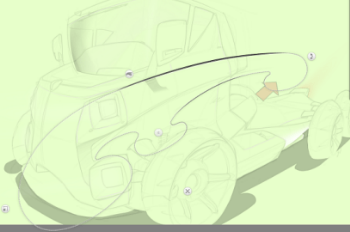
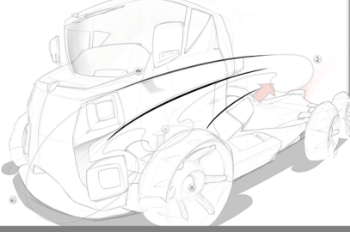
Curve Ruler
Use ![]() for curves you can't create with the Ellipse or French Curve tools. Customize the curvature of this bendable ruler through direct manipulation. Draw curved lines anywhere on the canvas, as your strokes snap to the ruler.
for curves you can't create with the Ellipse or French Curve tools. Customize the curvature of this bendable ruler through direct manipulation. Draw curved lines anywhere on the canvas, as your strokes snap to the ruler.
For Sketchbook Pro on desktop:
- To scale the ruler, click-drag

- To rotate the ruler, click-drag and rotate

- To move the ruler, click-drag

- To move a ruler handle, click-drag a handle

- To create a stroke, draw on or near the section of the ruler you need
- To exit the ruler, click

- To reset the ruler to the center of the canvas, double-click a handle

For mobile users:
- To change the shape of the ruler, tap-drag a handle with one finger
- To scale the ruler, pinch with two fingers within the ruler
- To reset the ruler to its original size and position, double-tap within the ruler (but not on a handle)
- To retain the curvature, but fit the ruler within the view, double-tap a handle
Ellipse
Use ![]() to create ellipses, curves, and draw circles in perspective. As you rotate an ellipse, the minor axis is displayed to line it up with your vanishing lines. Both the rotation and degree of the ellipse are displayed in the readout at the bottom of the screen.
to create ellipses, curves, and draw circles in perspective. As you rotate an ellipse, the minor axis is displayed to line it up with your vanishing lines. Both the rotation and degree of the ellipse are displayed in the readout at the bottom of the screen.
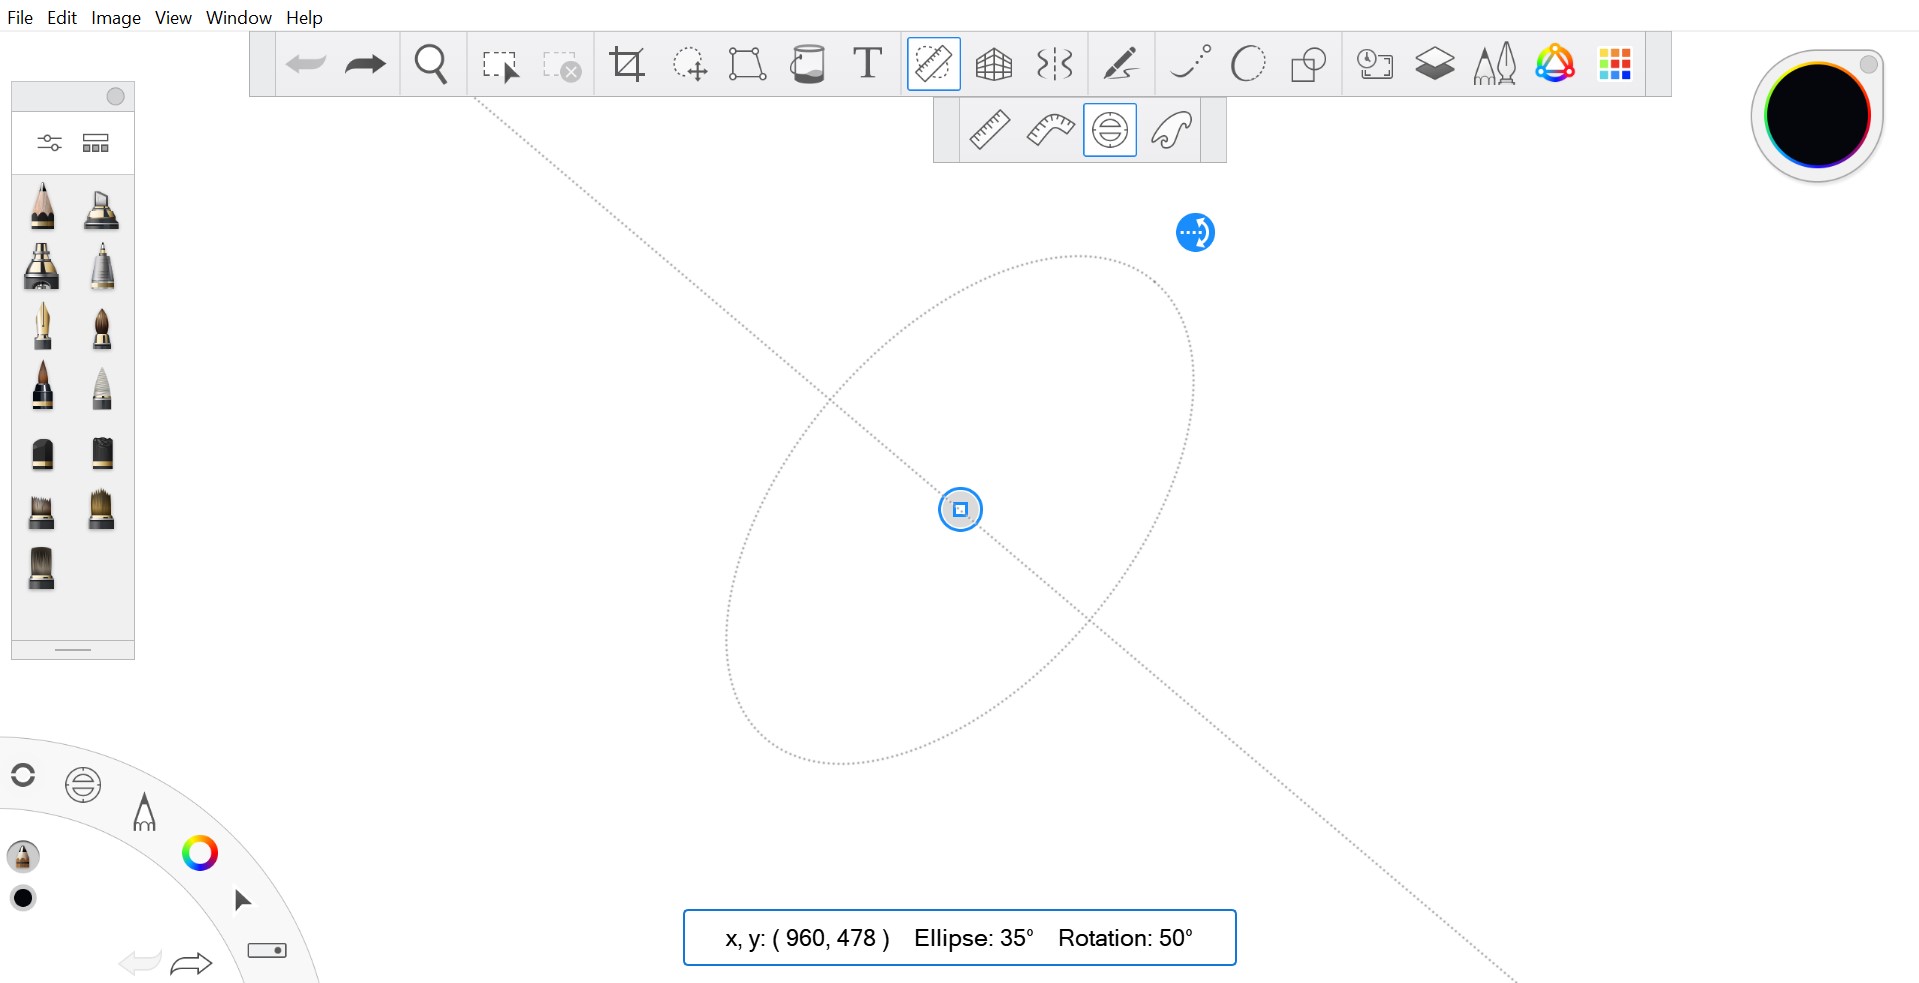
Create a perfect ellipses tracing anywhere on the canvas, by moving and repositioning the guide. Draw along either edge. There are three handles. Rotation  , scale
  , and scaling along the minor axis (non-proportional scale)
For Sketchbook Pro on desktop:
To move, reshape, and resize the ellipse, tap-drag the handles:
- To non-proportionally scale the ellipse, tap-drag

- To scale the ellipse, tap-drag

- To rotate the ellipse, tap-drag

- To move the ellipse, tap-drag

- To change the ellipse to a circle, double-tap either
 to create a circle the size of the major axis, or
  to create a circle the size of the minor axis
 - When finished, tap the
 handle to exit the Ellipse tool
For mobile users:
- To move horizontally and/or vertically, without changing its rotation, tap-drag within the ellipse with 1 finger
- To change the rotation, tap-drag within the ellipse and rotate with 2 fingers
- To proportionally scale the ellipse, pinch or expand within the ellipse with 2 fingers
- To change the dimensions in one direction, drag the dimensions handle
- To reset the ellipse to the default size and position, double-tap within the ellipse with 1 finger
- To change the degrees of the ellipse, making it a circle, tap the dimensions handle
- To reset the rotation to zero degrees, tap the rotation handle
NOTE: If you pinch or expand outside the ellipse guide, you will zoom in or out of the canvas.
French Curve
Only available for Sketchbook Pro on desktop
Use ![]() for drawing a variety of smooth curves.
for drawing a variety of smooth curves.
- To move the French curve, tap-drag
 .
. - To rotate the French curve around its center, tap-drag
 .
. - To equally scale the French curve in all directions, tap-drag
 .
. - To flip the French curve, tap-drag

- To cycle through different French curves, tap
 ,
,  , or
, or  .
.